Rubber Safety Tiles for Playgrounds: Thickness, Standards and Installation
Une dalle amortissante de 100 mm couvre les hauteurs de chute libre les plus élevées des aires de jeux, selon le test HIC de la norme EN 1177. Cette épaisseur se réserve aux équipements les plus hauts ; les modules bas n'en ont pas besoin. Le calepinage se fait équipement par équipement, ce qui évite de surdimensionner toute l'aire.
Playgrounds are where children take the falls that surfacing is designed to absorb. Rubber safety tiles have become the default answer for schools, municipalities, campsites, hotels, housing associations and retail sites because they combine impact attenuation with a stable, accessible, low-maintenance surface. This guide covers what the tiles are, how thickness is selected, how they are installed and what drives their cost.
One point sets the frame for everything else. Thickness is not chosen for appearance or for the whole playground at once. It is selected item by item against the free fall height of each piece of equipment, and verified by the HIC test defined in EN 1177. A 100 mm tile covers the highest free fall heights found on a playground; low modules do not need it, and specifying it everywhere simply raises the cost of the project.
What a rubber safety tile is
Construction
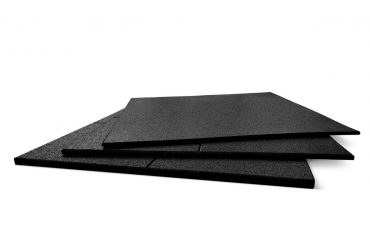
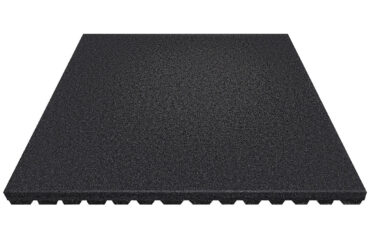
A safety tile is a flexible surfacing element designed to absorb impact energy. The body is generally made from recycled rubber granulate bonded under pressure, with a coloured wearing layer where a finished appearance is required. Recycled granulate gives the tile its energy absorption; the wearing layer gives it colour retention and slip resistance.
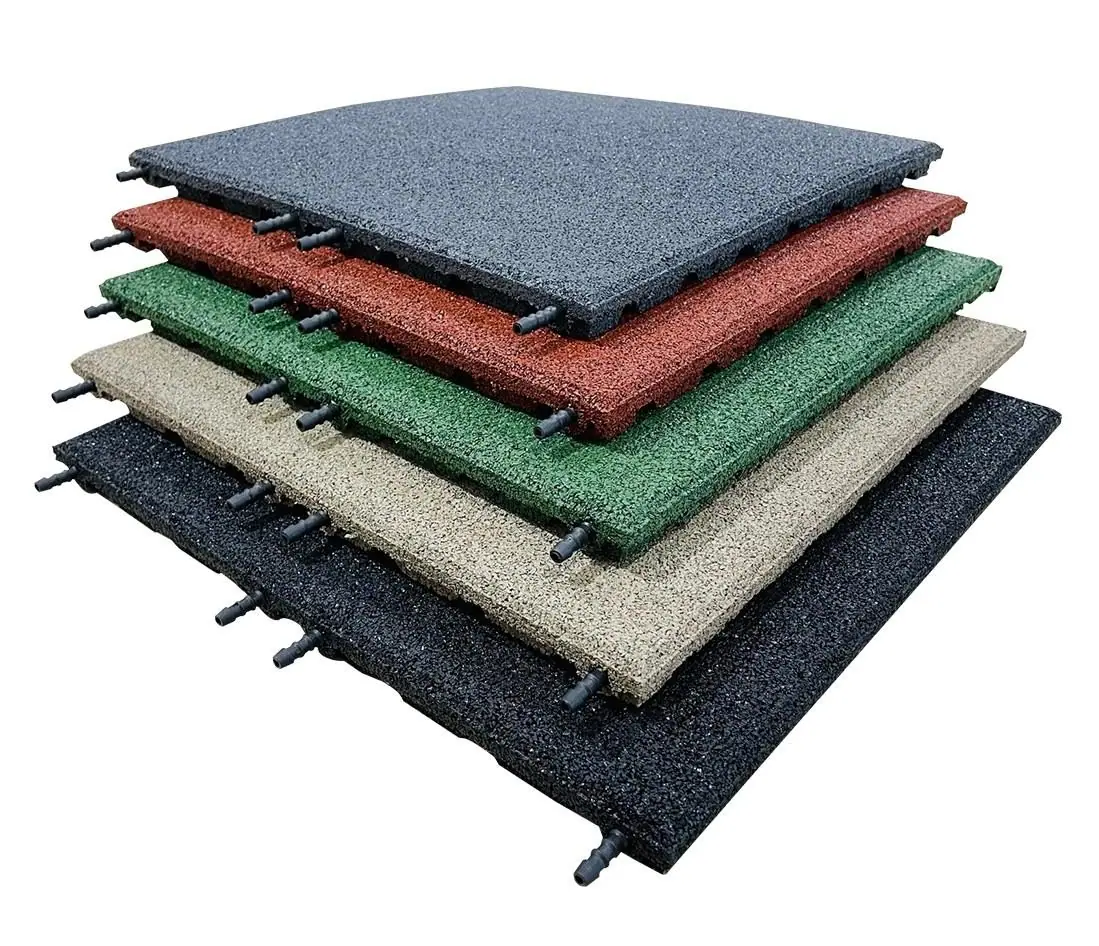
Tiles are supplied in square formats, commonly 50 x 50 cm and 100 x 100 cm, and are usually interlocking or dowelled edge to edge, which is what makes them quick to lay and straightforward to repair one unit at a time.
Why the surfacing matters
Impact attenuating surfacing is the layer that turns a fall from a piece of equipment into a bruise rather than a head injury. It also provides a slip-resistant, drained walking surface, which reduces the everyday slips that account for a large share of playground incidents. A compliant surface is what allows an operator to open the space with confidence, and it is the first thing an inspection looks at.
Other advantages
Beyond protection, safety tiles come in a range of colours, which lets a site mark zones, define paths or simply make the space more attractive. They are easy to maintain, resistant to weather, quick to install thanks to the interlocking design, and priced per square metre, which makes budgeting straightforward. Because a damaged tile can be lifted and replaced individually, the surface stays serviceable for years rather than needing to be relaid whole.
Specifying thickness against fall height
How the standard works
EN 1177 defines how impact attenuating surfacing is tested. A headform is dropped onto the surface and the Head Injury Criterion is measured; the result gives the critical fall height for that surface build-up. The playground equipment itself falls under EN 1176-1, which is a separate standard covering the structures rather than the ground. The two are always specified together and never interchanged, and EN 16630, which covers outdoor fitness equipment for adults, has no place on a children playground.
Choosing per item, not per site
Take the free fall height of each item of equipment from its manufacturer documentation, then select the tile thickness whose tested critical fall height covers it. A low spring rider and a tall climbing tower do not need the same build-up. Working item by item is what keeps a project affordable while remaining compliant, and it produces a zoning drawing your installer and your inspector can both work from.
Tile thicknesses across the rubber flooring family run from a few millimetres for indoor gym use up to 100 mm for the highest playground fall heights. Only the thicker playground grades are relevant here; a 7 mm gym tile is not playground surfacing and should never be substituted.
Comparing tile types
Recycled rubber tiles offer excellent impact resistance and the best value per square metre. Tiles with a coloured wearing layer cost more and hold their appearance longer under UV and heavy use. Both can meet EN 1177 at the appropriate thickness. Judge them on tested critical fall height, colour stability and drainage rather than on appearance alone. The full range is on our playground surfacing page.
Installation
Preparing the base
The base decides the result. The ground must be level, clean and free draining, because water trapped under a tile will lift it and freeze-thaw will move it. A compacted granular sub-base with a levelled finishing layer is the usual build-up; the exact specification depends on the ground conditions of the site and belongs in the installation drawing.
Once the base is ready, the tiles are laid edge to edge and connected. Check alignment as you go, because a run that drifts will show at the perimeter and create trip edges. A level used across the field of tiles keeps the finished surface flat, which is what makes it safe to run on.
Edges and transitions
Ramped edge tiles finish the perimeter where the surfacing meets grass or paving, and they are what makes the area accessible to a pushchair or a wheelchair. Do not leave a vertical step at the edge of a play surface.
Maintenance
Periodic cleaning to remove dirt, leaves and debris keeps the surface performing and looking maintained; water and a mild detergent are usually enough. Inspect for cracks, lifted corners and opened joints, and replace damaged tiles promptly. Keep the maintenance record with the equipment documentation, because both are looked at together during an inspection.
Wet and shaded areas
Areas that stay damp need particular attention. A slip-resistant surface texture reduces the risk in these conditions, and drainage under the tiles limits standing water. Where a play area sits under trees, expect organic debris to hold moisture and plan cleaning frequency accordingly.
Cost and quotations
What drives the price
The price per square metre is driven by thickness, by whether a coloured wearing layer is specified, and by the finish and colour selected. Thicker tiles for high fall heights cost more than thin ones. The base preparation is a separate cost line and is often the larger of the two on a site that has never carried surfacing before.
Getting a usable quotation
Define the surface area and the free fall height of each item of equipment before requesting a quotation, and send the equipment documentation with the enquiry. With that information a supplier can quote thickness by zone rather than a single figure for the whole area, which is normally the difference between a realistic price and an inflated one.
Compared with other surfacing
Alternatives exist. Loose fill such as playground wood chips costs less to install but needs topping up, redistributing after use and replacing periodically, and its performance depends on being kept at depth. Rubber tiles cost more up front and hold their tested performance without ongoing intervention, are accessible for wheeled users, and can be repaired locally. Over the life of the installation the tiled surface is frequently the lower total cost.
Frequently asked questions
Is 100 mm always required?
No. 100 mm covers the highest free fall heights on a playground. Lower equipment is covered by thinner grades, and the correct approach is to specify per item against the tested critical fall height rather than applying the maximum everywhere.
Which standard applies to the equipment itself?
EN 1176-1 for the playground equipment, EN 1177 for the impact attenuating surfacing. They are complementary and never substituted for one another.
Can safety tiles be laid on an existing hard surface?
Often yes, provided the existing surface is sound, level and drains. A survey is needed, because a slab that ponds water will shorten the life of the surfacing.
How long do rubber safety tiles last?
With correct base preparation and routine cleaning, a well specified surface stays in service for many years. Colour fade and joint opening usually appear before any loss of impact performance, and individual tiles can be replaced as needed.
Specifying your playground surface
Start from the equipment, not the catalogue: list each item, take its free fall height, and let that produce the thickness zoning. Then specify base preparation, edging and the maintenance routine in the same document. A playground surfaced that way passes inspection and stays serviceable.
Light In Fitness supplies rubber safety surfacing and playground equipment to municipalities, schools, campsites, hotels and housing operators, and has equipped more than 2,500 customers since 2013. Send us your layout and your equipment list and we will return a zoned specification. Request a quote.
Réalisations documentées
- Dalles et sols sportifs : livraisons documentées – plusieurs chantiers
- Sol sportif extérieur, square Georges-Vallerey – Taverny (95)
Sources et références
- Décret n° 96-1136 du 18 décembre 1996 – prescriptions de sécurité relatives aux aires collectives de jeux (Légifrance)
- NF EN 1176-1 – Équipements et sols d’aires de jeux, partie 1 : exigences de sécurité et méthodes d’essai générales (AFNOR)
- NF EN 1177 – revêtements de surface amortissants : détermination de la hauteur de chute critique (AFNOR)