Before You Buy a CrossFit Rig or Cage: What to Check to Avoid Regrets
Most regrets about a CrossFit rig are decided before the order is placed, in three numbers: the clear height, the working clearance around the structure, and the steel section. Get those right and the rig serves the floor for fifteen years. Get them wrong and no accessory will fix it. This guide covers what a professional buyer checks before signing, from EN ISO 20957-1 class S certification to post spacing, anchoring and accessory compatibility.
It is written for the people who commission training structures: box owners, gym operators, hotels, clubs, universities, forces facilities and local authorities. The order of the sections is deliberate. Each one narrows the specification, and by the end you should be able to brief a supplier precisely enough to compare two quotations properly.
Start with the training programme, not the catalogue
Clarifying what the structure is for is the first step away from an expensive mistake. A floor built around maximal strength, one built around conditioning and one built around competition formats do not need the same rig.
If the programme includes Olympic lifting, the structure needs adjustable J-cups, safety arms and enough clear space for a bar path. If it is built on pull-ups, dips, muscle-ups and bodyweight circuits, station count and bar spacing matter more than load capacity. If both, say so at the briefing stage rather than discovering the conflict at installation.
Set the horizon at three to five years, not at opening week. A structure that cannot take another station, another accessory rail or a heavier load becomes a second purchase, and the second purchase always costs more than specifying properly the first time.
Audit the movements you actually programme
List the movements that appear most often. Separate the barbell base, squats, deadlifts, presses, from the suspended work specific to the discipline, muscle-ups, pull-ups, toes-to-bar, rope climbs. That list tells you where the J-cups go, where the pull-up modules go and where the accessory mounting points have to be.
Then weight the list by frequency and intensity. A floor running high-intensity workouts several times a day needs a structure sized for repeated impact loading, not just for static load. A more moderate programme allows a lighter, more modular structure. The point is to specify against the training that actually happens, which is not always the training described in the business plan.
Measure the space before you look at products
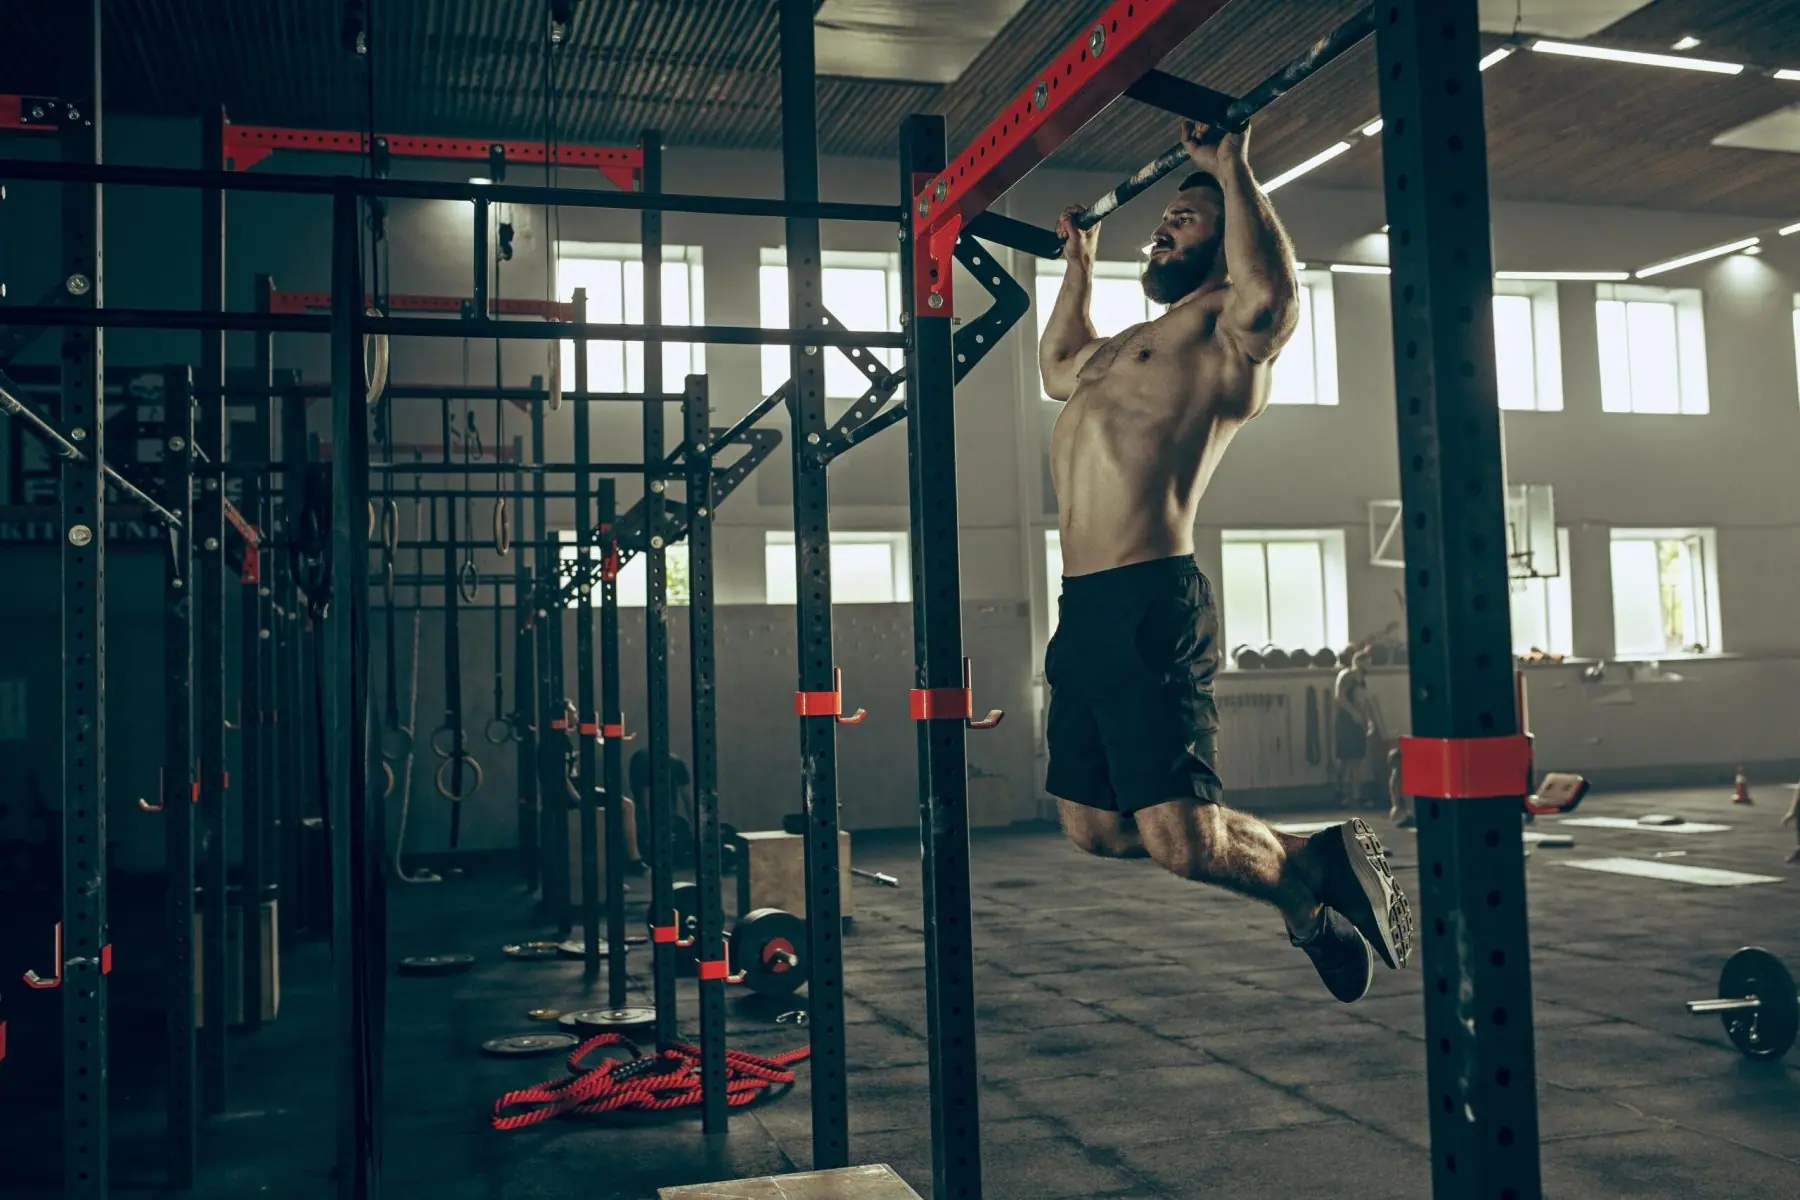
Measure length, width and above all clear height under the lowest obstruction, including beams, lighting and ductwork. An undersized rig restricts movement and becomes dangerous, particularly on pull-ups and thrusters.
Leave working clearance around the structure so people can circulate and so bars and plates can be stored safely. Plan on at least one metre around the rig; that is the figure to design to, and anything less should be a deliberate, justified exception rather than a default.
Check access as well as the footprint: the route from the delivery door to the installation point has to take the longest single component. And allow for what goes underneath, flooring or a lifting platform, in both the levels and the budget.
Cage or rig: what actually separates them
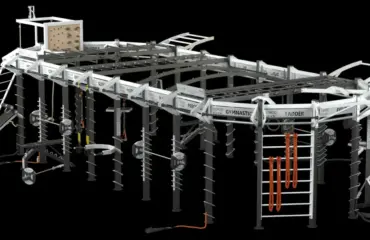
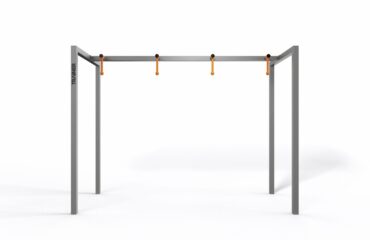
The difference is use and modularity. A cage is the more compact and self-contained structure: uprights, a bar support and often a pull-up bar, serving one or two people at a time. A rig is a larger structure built for intensive use, with several training stations linked into one frame.
For an individual station or a small group, a cage is the efficient answer. If several athletes train simultaneously, or if the programme relies heavily on suspended work with rings, ropes and dip stations, the rig is the right structure, at a higher cost and a larger footprint.
| Cage | Rig | |
|---|---|---|
| Footprint | Compact | Large, sized by station count |
| Simultaneous users | One or two | Several, set by station spacing |
| Modularity | Accessories added to the frame | Stations and bays added to the structure |
| Typical setting | Strength corner, secondary station, constrained room | Box, functional area, competition format |
| Installation | Anchored, quick | Anchored, longer build and set-out |
| Cost | Lower entry point | Higher, but lower cost per training station |
Our CrossFit rigs cover both approaches, in freestanding and wall-mounted configurations depending on what the slab and the walls allow.
The specification points that decide quality
Certification
Indoor equipment for professional use is certified to EN ISO 20957-1 class S. In a facility open to members this is what an insurer and an inspection body will ask for. Request the certificate for the reference being quoted, not a general statement about the range.
Load capacity
Favour structures rated from 500 kg upwards, which leaves a genuine safety margin as the members using the floor get stronger. Ask for the figure for the specific reference and the conditions it was established under.
Steel section and wall thickness
For intensive use, square tube of 80 by 80 mm is the reference section, with a wall thickness of at least 3 mm. Both figures belong on the quotation. They are the closest thing there is to an objective quality indicator, and they are the first thing a cheap structure quietly reduces.
Assembly method
Bolted, welded or modular. A bolted assembly can be dismantled, moved and reconfigured, which matters on leased premises and for phased projects. A welded assembly is stiffer. Neither is universally better; the right choice depends on whether the structure will ever have to move.
Finish
Powder coating resists impact and corrosion far better than a liquid paint. Better manufacturers apply an anti-corrosion treatment before coating, which is what matters on the parts in direct contact with sweat or exposed to humidity. Check fixings too: stainless or galvanised bolts, nuts and base plates prevent the corrosion that starts at the anchor points.
Welds and wear points
Look for continuous welds with no gaps or irregularities. Then look at the parts that take the abuse: J-cups, bar seats, pull-up bars and the anchor plates. Those are the components that will be worn or replaced first, so ask whether they are available as spares.
Sizing and configuration
Size the structure against the clear height and against the people who will use it. For tall users and for movements needing full extension overhead, muscle-ups and handstand work, allow at least 2.50 m of usable height.
On width, a single cage of 1.20 m serves an individual station, while a multi-station rig will typically run between 3 and 6 m long. Post spacing follows the movement: at least 1.20 m for squats and presses, and 0.90 m for pull-up stations placed side by side.
Depth matters too. A standard cage is often 1.20 m deep, while some rigs reach 2 m to incorporate cable stations. More depth means more versatility, pulldowns, face pulls, lunges, and more floor taken. Keep freedom of movement both behind and in front of the structure, and allow 50 to 70 cm of clearance in front for bar length and bar path on deadlifts and clean and jerks.
If rings, ropes or cable modules are on the roadmap, place them in the initial layout. Retrofitting a station into a rig that was set out without it is how a floor ends up crowded and unsafe.
Accessories and customisation
Accessories are what turn a frame into a training system: plate storage, band pegs, parallel bars for dips, pull-up modules with different grips, adjustable cable stations. Choose modular systems that mount and dismount in minutes, because the configuration of a busy floor changes more often than people expect.
Optional kits, high and low cable stations, power cage sections, jump platforms, extend the structure to specific programmes. Budget for them from the start: accessories can represent up to 30 percent of the total cost of the structure, and they are not the place to run out of money.
The compatibility trap is worth stating plainly. Rigs are not universal. Hooks, pulleys and pull-up bars from one manufacturer frequently do not fit another manufacturer’s uprights, because hole spacing and upright section differ. Confirm compatibility before buying additional modules, and prefer a supplier whose range you can extend rather than replace.
Installation and layout
Assembly goes on a flat, stable surface. Check the level of the slab and correct it before installation; a rig set out on an uneven floor loads unevenly for the rest of its life. Rubber flooring or a raised sports floor underneath absorbs impact and protects the slab.
Where the structure requires floor anchoring, follow the manufacturer’s specification exactly and use fixings suited to the substrate. The anchoring detail is not a place for improvisation on site.
Position the rig so that there is free space in front of and behind it for bars and plates, and so that circulation stays fluid when several people are training. Orient pull-up stations towards a clear wall or a corner so that nobody swings into other equipment.
Getting more out of the structure
- Place the rig along a wall or in a corner to free the middle of the room for floor work, mobility and bodyweight sessions.
- Use the uprights for bands, ropes and rings, which creates additional stations without taking any more floor.
- Removable or folding platforms in front of the rig serve deadlifts and snatches, then clear away.
- Exploit the clear height for climbing ropes and suspension trainers, using the vertical space rather than the footprint.
- Fit a whiteboard or a programme holder on an upright so the session is visible from the floor.
The mistakes that cause the regrets
Specifying for today
The most common error is buying against current needs with no allowance for progression. The structure becomes limiting within two years, and the second purchase costs more than specifying correctly would have done.
Underestimating the space, especially the height
People routinely misjudge clearance, and almost always vertically. A few centimetres above the pull-up bar feels sufficient until someone does a muscle-up. A low ceiling turns a dynamic session into an injury risk. Lateral clearance matters just as much: a bar swinging into a wall is a predictable and preventable accident. Set out the working clearances and test the movement paths before anchoring anything permanently.
Ignoring structural quality
An inexpensive structure is attractive until it is loaded. Thin steel, poor welds and a weak coating produce cracking, corrosion and dangerous instability under the repeated impact this discipline generates. Check wall thickness, check the welds, and buy from a manufacturer that will still be supplying spare parts in ten years.
Assuming accessories are interchangeable
They are not, between manufacturers. Verify before you buy.
Frequently asked questions
What clear height does a rig need?
Allow at least 2.50 m of usable height for movements requiring full overhead extension, and measure to the lowest obstruction rather than to the ceiling.
What load capacity should I look for?
From 500 kg upwards for a professional structure, with the figure confirmed for the specific reference quoted.
Freestanding or wall-mounted?
Wall-mounted saves floor area but transfers load into the wall, so the wall’s load-bearing capacity has to be verified first. Freestanding suits a slab that can be drilled and a floor plan that does not depend on a wall.
Can a rig be extended later?
Within one manufacturer’s range, generally yes, by adding bays and stations to the existing uprights. Across manufacturers, generally no.
Briefing your project
Send us the room dimensions, the clear height, the slab type, the number of simultaneous users and the disciplines trained. You get back a rig layout with working clearances, a full specification and a costed proposal. Request a quote to open the file.