How to Install an Outdoor Obstacle Course
L'installation d'un parcours d'obstacles se déroule en quatre étapes : choix de l'emplacement, conception du tracé, ancrage des modules et contrôle de réception. Les zones de réception se calibrent sur la hauteur de chute libre de chaque obstacle. En établissement recevant du public, la norme EN 16899 encadre la conception.
Installing an outdoor obstacle course involves four stages: choosing the site, designing the route, anchoring the modules, and carrying out an acceptance inspection before the course opens. Impact areas are calculated from the free height of fall of each obstacle. Where the course is open to the public, EN 16899 governs the design of parkour equipment, while EN 16630 applies to outdoor adult fitness stations and EN 1176-1 together with EN 1177 apply to any part of the site intended for children.
Obstacle course racing has moved a long way from improvised military-style circuits. Local authorities, campsite and holiday-village operators, hotels, schools, sports clubs, armed forces and rehabilitation centres now commission permanent courses as durable outdoor sports infrastructure. This guide sets out how a professional installation is actually planned and delivered, from the first site visit to the handover file.
Why operators build a permanent obstacle course
A permanent course does three things a temporary circuit cannot. It gives a site a year-round attraction that needs no staff to set up. It spreads use across a wide age range, because a well-designed route can be run at walking pace or at competition speed on the same modules. And it concentrates a high-intensity workout — grip strength, agility, upper-body pulling, coordination, cardiovascular load — into a footprint far smaller than a running track.
For a municipality, the course usually sits alongside an existing sports area and is specified as public open-access equipment. For a campsite or holiday village, it is an activity that differentiates the site in a crowded market. For a club or an armed-forces unit, it is a training tool with measurable progression. Each of these briefs produces a different course, which is why the design stage matters more than the shopping list.
Step 1 – Choosing the site
Start with the footprint. Add up the space every planned obstacle needs, then add the run-up and run-out between modules and the impact area around each one. The impact area is not optional and not negotiable: it is derived from the free height of fall of the obstacle, and it must remain clear of any other structure, planting or path.
Then look at the ground itself. Check the natural drainage, because a course that holds standing water after rain is a course that closes for half the season. Check the subsoil, because anchoring depth depends on it. Check exposure to prevailing wind and, on a coastal or poolside site, to salt and chlorine, which will steer the specification towards stainless steel or hot-dip galvanised steel rather than painted mild steel.
Finally, look at access and supervision. Delivery vehicles and a small excavator need to reach the plot. Sightlines from a reception building, a clubhouse or a supervised area make informal supervision possible. Lighting and existing CCTV coverage tend to determine how much the course is used in the evening and how much it is vandalised.
Step 2 – Designing the route
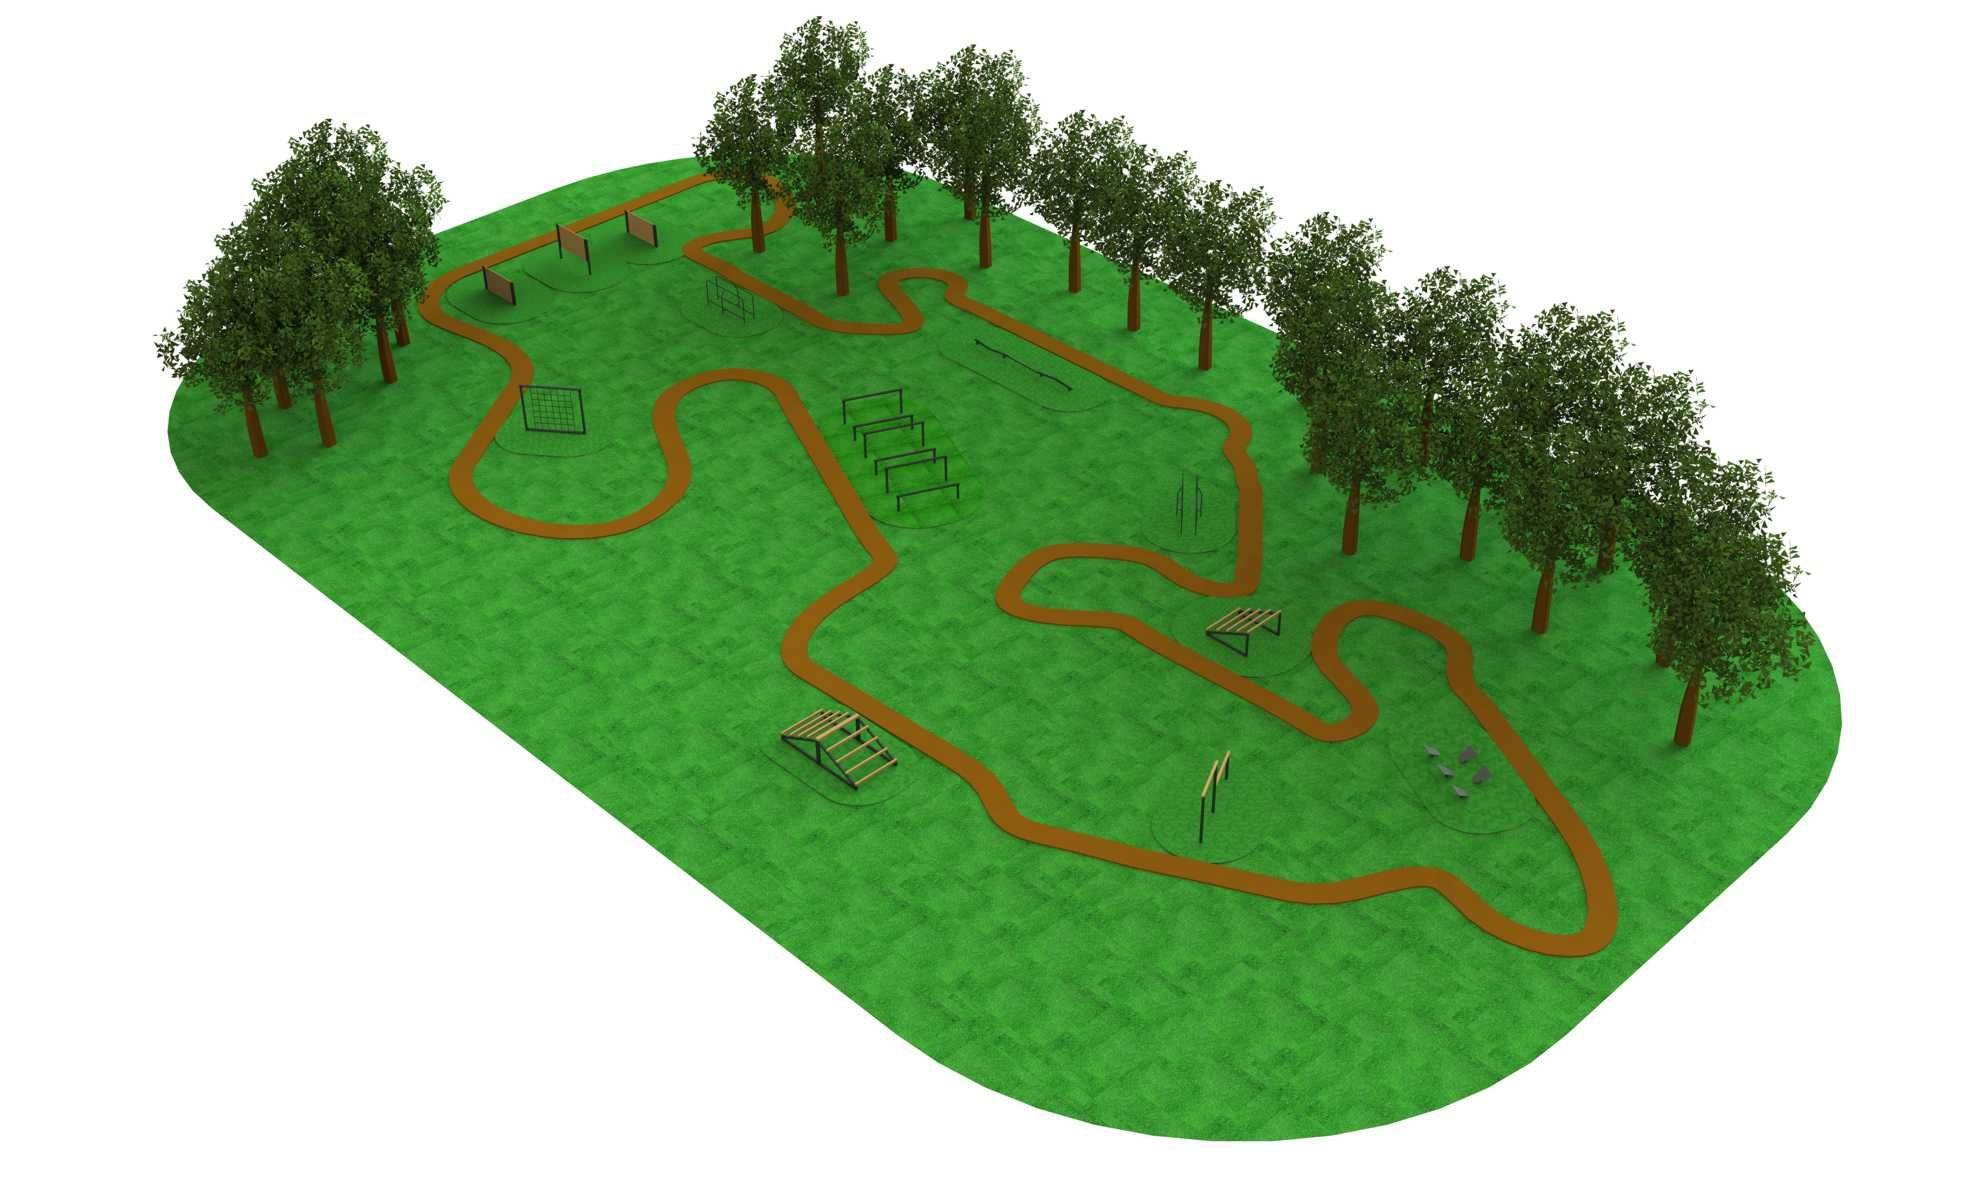
A course is a sequence, not a collection. Design it as a loop or a linear run with a clear start and finish, and alternate the physical demands so that two heavy upper-body obstacles never follow one another. A workable rhythm is: agility, then upper body, then balance, then a climbing or vaulting element, then a recovery run.
Decide early who the course is for, because that single decision sets the height of every module. A course intended for adults and teenagers can carry high traverse elements and a warped wall. A course intended for primary-school children is a different product governed by different standards, and it must not be specified by scaling an adult course down.
Mixed-age sites are usually best served by two zones rather than one compromise course. Where a route has to serve both, the standard approach is a main run for adults plus a parallel low-level line of modules that a younger user can take instead, with each line kept inside its own impact area.
Typical module families
| Family | Examples | Primary demand |
|---|---|---|
| Balance | Balance beams, snake beams, stepping pods | Coordination, ankle stability |
| Upper body | Traverse rungs, ring traverses, rope climbs | Grip and pulling strength |
| Climbing and vaulting | Warped walls, cargo nets, over-and-under frames | Explosive power, technique |
| Agility | Weaver frames, hurdle sets, low crawls | Footwork, body control |
| Strength endurance | Dip walks, step-up boxes, carry stations | Muscular endurance |
Our obstacle trail modules are supplied as individual units so that a route can be assembled to fit an irregular plot, while our complete OCR obstacle courses are pre-configured sequences for operators who want a proven layout.
Step 3 – Specifying modules and materials
This is where a professional installation separates itself from an improvised one. Salvaged timber, scaffold tube, tyres and reclaimed play equipment cannot be certified, cannot be insured on a public site and cannot be inspected against any standard. Permanent outdoor obstacles are specified as manufactured equipment with a declaration of conformity, a serial number and an installation and inspection manual.
Three material families dominate. Hot-dip galvanised steel is the default for public open-access courses: strong, repairable and economical over a long service life. Stainless steel is specified where the atmosphere is aggressive, typically coastal, poolside or heavily de-iced sites. Structural timber, usually glue-laminated or robinia, is chosen where the course has to sit visually inside a park or a wooded setting.
Grip surfaces, rung diameters and net mesh sizes are part of the specification rather than details left to site. Rung diameter determines whether a traverse is usable by a mixed-age population. Mesh size on climbing nets is a safety characteristic, not an aesthetic one, because a mesh that allows head entrapment fails inspection regardless of how strong the net is.
Step 4 – Groundworks, anchoring and surfacing
Anchoring is the single most common point of failure on courses installed without professional support. Every module has an anchoring detail defined by its manufacturer: a concrete footing of a stated depth and volume, a ground socket, or a base plate fixed to an engineered slab. Substituting one for another, or reducing the footing because the ground looked firm on the day, invalidates the equipment and any insurance built on it.
Allow the concrete to cure fully before any load is applied, and record the footing dimensions in the handover file, because an inspector will ask for them. Where footings sit inside the impact area, the top of the foundation must be low enough to be covered by the surfacing and out of the way of a falling user.
Impact-attenuating surfacing follows the same logic. Its specification is driven by the free height of fall of the highest obstacle it serves, and different systems achieve different critical fall heights: bonded rubber mulch, wet-pour rubber, rubber tiles, engineered wood fibre or sand and gravel to the correct grading and depth. Grass, bare compacted earth and standard paving are not impact-attenuating surfaces. Our range of impact-attenuating surfacing covers the usual configurations for public sites.
Step 5 – Acceptance inspection and handover
Before the course opens, a post-installation inspection checks the finished installation against the design and against the applicable standard. It covers anchoring, torque on critical fixings, clearances between obstacles, entrapment openings, sharp edges and protruding fixings, the extent and depth of the surfacing, and the legibility of the signage.
The handover file should contain the declaration of conformity for each module, the installation drawings with footing details, the inspection report, the manufacturer inspection and maintenance schedule, and the site signage plan. Without that file the operator cannot demonstrate due diligence if an incident occurs.
Keeping the course open: routine inspection
Three levels of inspection apply once the course is live. A routine visual check, carried out by site staff at a frequency set by how heavily the course is used, looks for vandalism, missing fixings, wear on ropes and displaced surfacing. A more detailed operational inspection is carried out periodically and covers stability and wear. An annual main inspection, carried out by a competent inspector, examines structural integrity, foundations and corrosion.
Budget from the start for the consumable parts. Ropes, nets, grips and timber decks wear faster than the steel structure they hang from, and the availability of spare parts over ten years is a legitimate selection criterion when comparing suppliers.
Frequently asked questions
How much space does an obstacle course need?
There is no single answer, because the footprint is the sum of the modules plus their impact areas plus the circulation between them. The practical method is to lay out the chosen sequence to scale and to draw each impact area from the free height of fall of its module. That drawing, not a rule of thumb, gives the surface area to reserve.
Can one course serve both adults and children?
Not as a single line of modules. Equipment for children is designed and tested against different standards from adult equipment, and reducing the height of an adult module does not convert it. Zoning the site, with a defined adult route and a separate children area, is the usual solution.
Which surfacing is required under the obstacles?
Impact-attenuating surfacing certified for at least the free height of fall of the obstacle it sits under. The choice between bonded mulch, wet-pour, tiles and loose fill is then made on budget, drainage, accessibility and maintenance rather than on safety alone, since all four can be specified to the required fall height.
Steel or timber?
Hot-dip galvanised steel gives the longest service life with the least maintenance and is the default for open-access public courses. Timber is chosen for visual integration in parks and wooded sites and needs a more attentive inspection routine. Stainless steel is reserved for aggressive atmospheres such as coastal and poolside installations.
How long does an installation take?
Programme length depends on the groundworks, the number of footings and the curing time of the concrete before load is applied, so it is set project by project once the site survey and the module list are fixed rather than quoted in advance.
Planning your course
The courses that work are the ones where the sequence, the anchoring and the surfacing were designed together, from a real site survey, before any module was ordered. Send us the plot dimensions, the intended users and the level of supervision available, and we will come back with a layout, a module list and a specification for the surfacing and the foundations. Request a quote and our technical team will work through the site with you.
Réalisations documentées
- Parcours ninja sur mesure, Rennes – îlot des Hautes-Ourmes
- Double mur ninja extérieur, Sallanches – Haute-Savoie