Pull-Ups: A Complete Guide for Gyms and Training Facilities
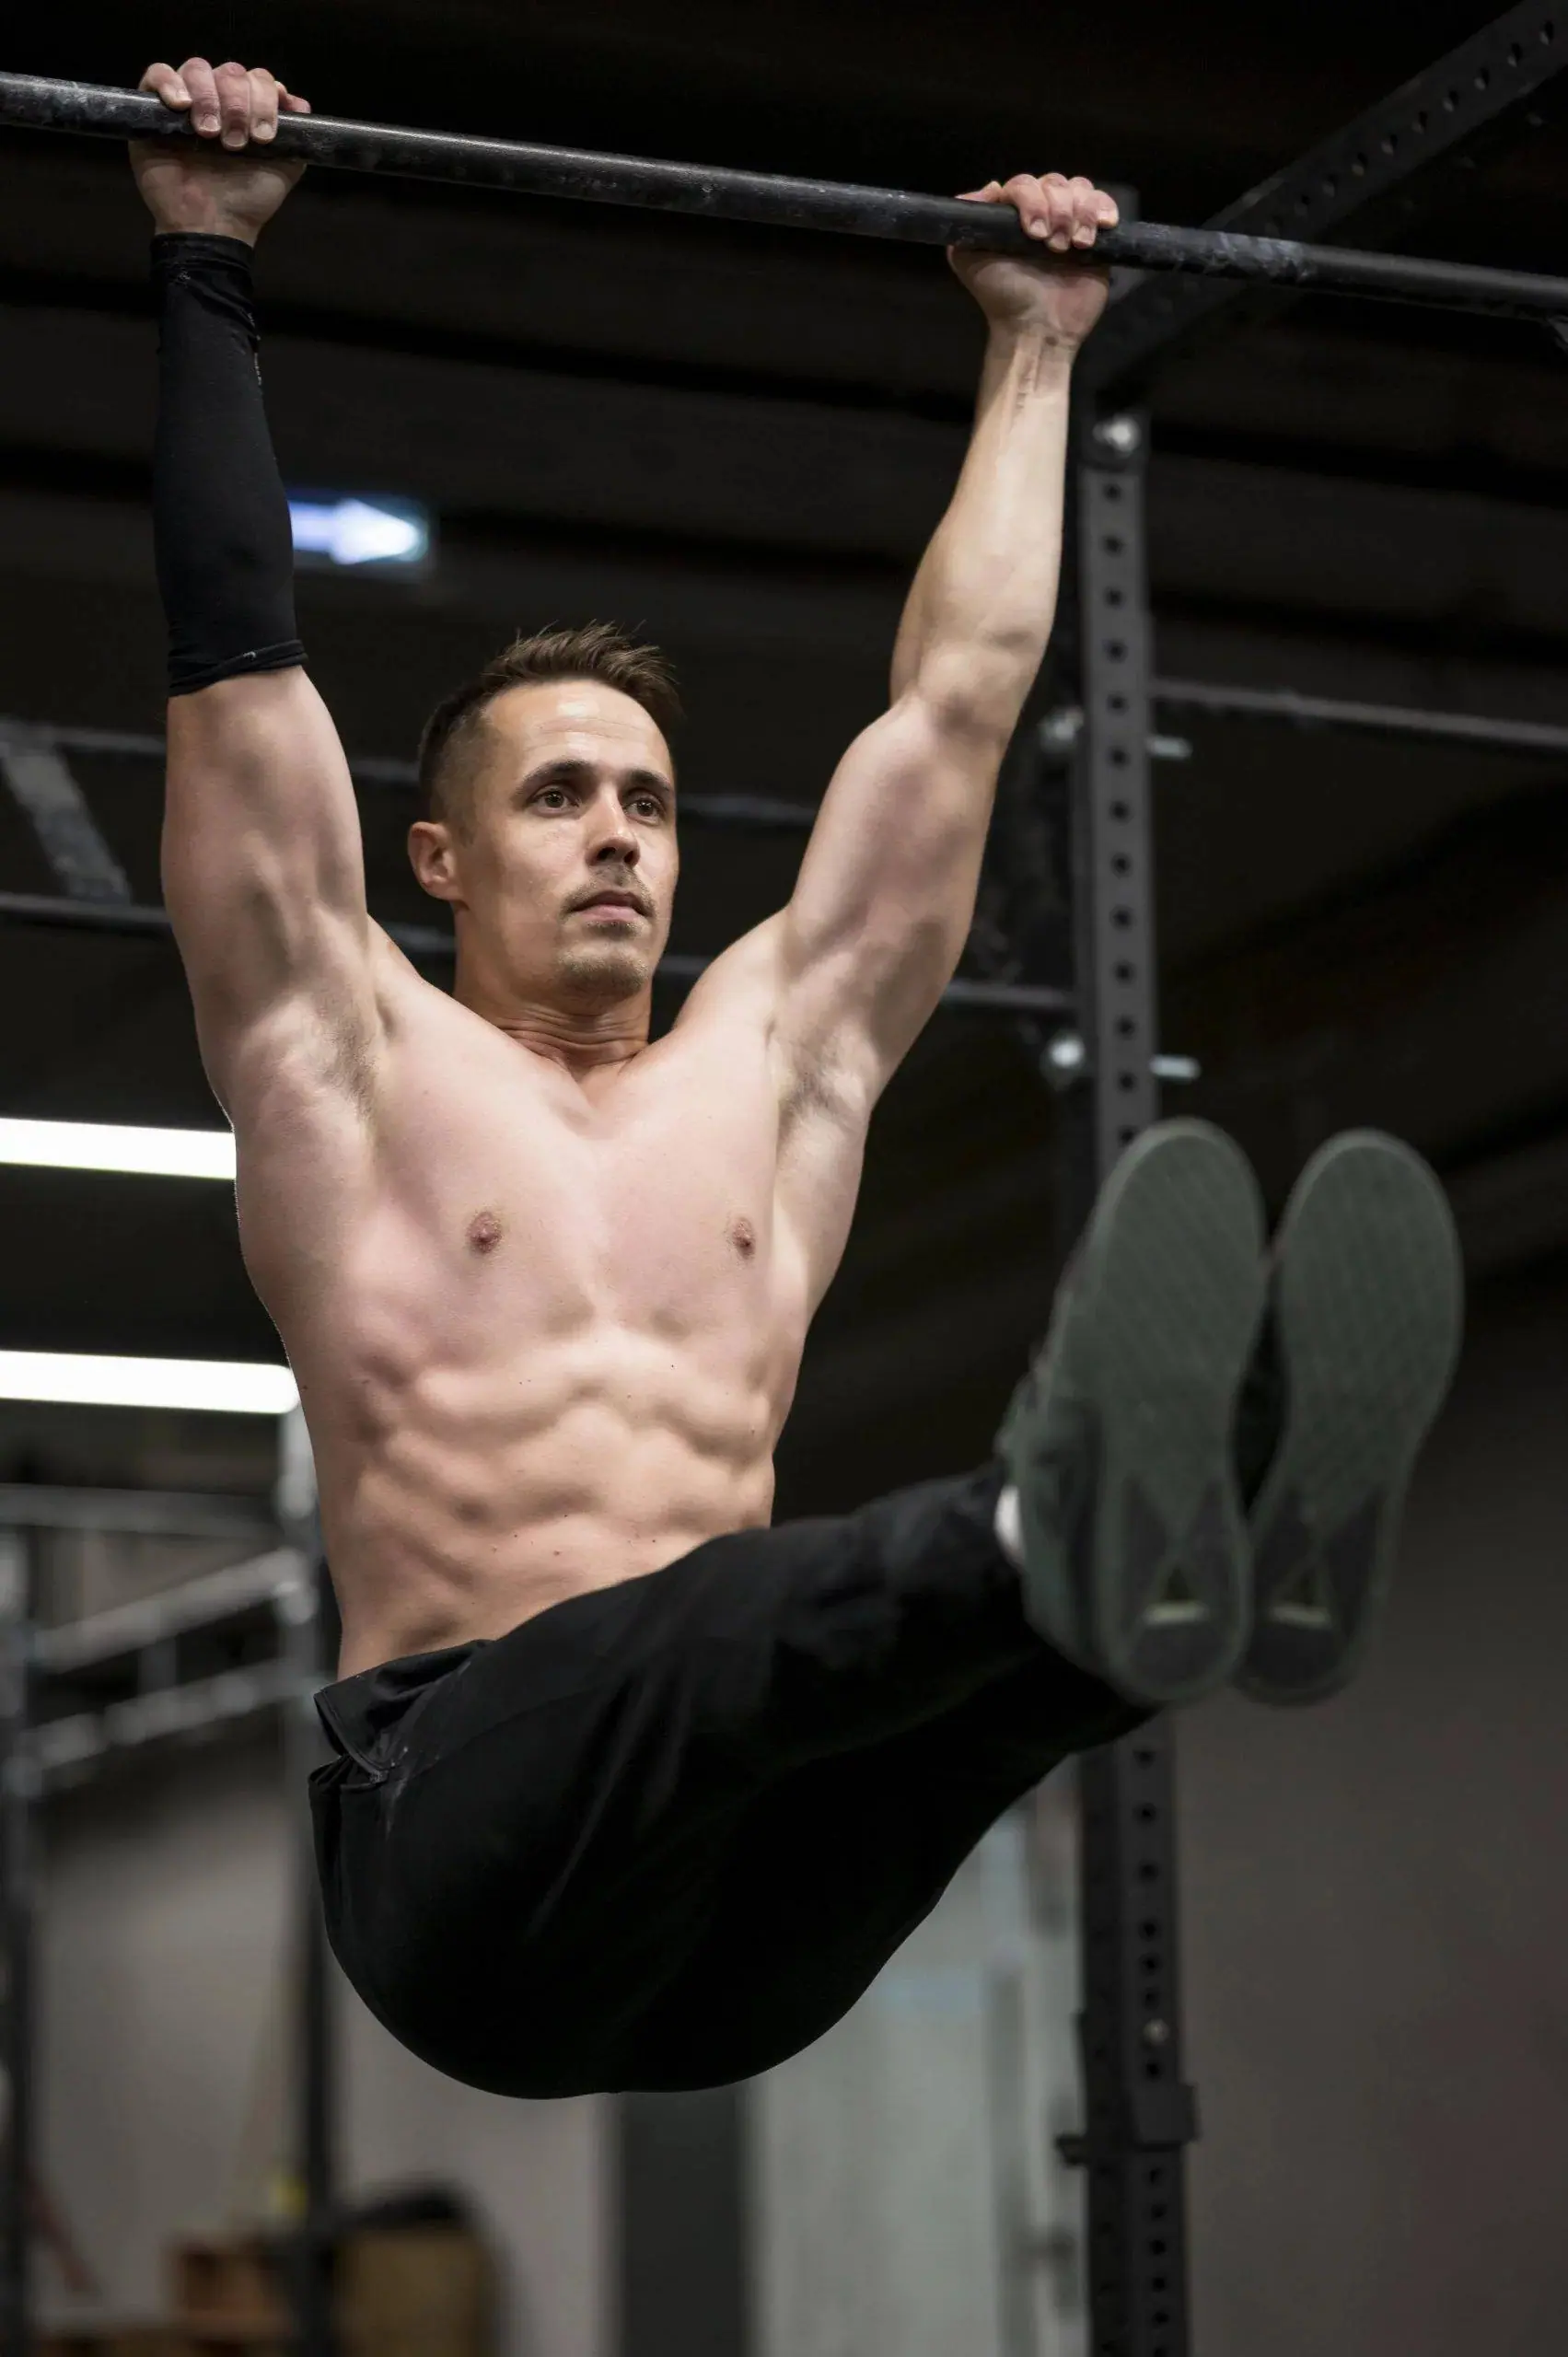
Pull-ups intimidate a lot of people, yet they remain one of the most effective bodyweight exercises ever devised for upper-body strength. They recruit the deep stabilising muscles, shape posture and demand nothing more than a bar and the athlete’s own weight. That last point explains why pull-up bars now appear in every kind of facility: commercial gyms, cross-training boxes, hotel fitness rooms, municipal outdoor gyms, calisthenics parks and school grounds. In short, pull-ups can be trained almost anywhere.
For an operator, that accessibility is a commercial argument. One well-placed bar serves a beginner working on assisted repetitions and an advanced athlete loading a weighted belt, with no power supply, no service contract and no floor space beyond its own footprint. For the member, the path to a first clean repetition is less obvious. Limited shoulder mobility stops some people; the sheer challenge of lifting full bodyweight stops most of the rest. The reward is worth the effort: a strong back protects the shoulders from injury and holds correct body position in every other exercise and physical activity.
This guide covers what your coaching team needs to build a credible pull-up pathway on the equipment you already own, from the simplest progression to the hardest.
The three phases of a pull-up
It is not enough to haul the body up until the bar is level with the face. Correct technique brings faster gains in strength and physique, and it prevents the shoulder and elbow injuries that follow sloppy repetition volume.
- Bottom starting position
- Pulling phase
- Top position, chin above the bar
Bottom starting position
Keep the back tight at all times. In the hang, the elbows are extended with the arms only slightly flexed. The shoulders and the muscles around the shoulder blades and collarbones stay under tension rather than going slack.
Pulling phase
Avoid pulling with the arms alone. Draw the shoulder blades down and towards you, and bring the elbows towards the ribs. Throughout this phase, avoid swinging from side to side and stay stable by bracing the abdominals.
Top position
Once the chin clears the bar, do not stop the movement. Squeeze the shoulder blades together and try to lift the body a little higher. Keep the abdominals and glutes tight at all times. The torso may lean back slightly so that the hips and feet sit in front of the bar. What matters is that the arms never travel past the bar.
Three versions of the exercise
To master the bar, most athletes work through one of the three versions below. The best choice always depends on individual goals and physical predispositions, so the athlete makes the call with the coach.
| Version | Advantages | Drawbacks |
|---|---|---|
| Dead-hang pull-ups | Works the full range of motion, which is good for mobility, and engages every muscle of the back | The shoulder ligaments are exposed to strain in the relaxed bottom position |
| Constant-tension pull-ups | Builds the back and shoulders without risking the shoulder ligaments | A demanding variation to execute correctly |
| Kipping pull-ups | Develops endurance while building upper-body strength; the momentum allows a higher repetition count in a set | Without full arm stabilisation, injuries happen easily |
Dead-hang pull-ups. While hanging, fully relax the shoulder and back muscles until the shoulders come up towards the ears, then hold the position for a moment. From there, pull as high as possible.
Constant-tension pull-ups. This is the most popular version. The body is lowered until the elbows are almost completely straight, then immediately pulled back up. The muscles stay slightly under tension for the whole set.
Kipping pull-ups. The version used most in cross-training. Hips are driven forward and back to generate momentum, which helps the athlete rise dynamically. Both previous versions should be mastered before starting on this one.
Beginner programme, three sessions per week
Mastering the pull-up takes practice, practice and more practice. The sets below give a coach something to prescribe on day one, with no equipment beyond a bar and a rack.
Exercise 1. Stand under the bar and jump into the top position. Hold there, keeping the back muscles contracted. Do 3 repetitions of 20 seconds.
Exercise 2. Stand under the bar and jump into the top position. Hold for a moment, then lower the body slowly. The lowering phase should take around 5 seconds. Do 3 sets of 5 repetitions.
Exercise 3. Grip a locked bar above you, for example on a Smith machine or a rack, with the arms extended and perpendicular to the floor. Torso in a straight line, legs straight at the knee, heels on the floor and toes pointing up. Pull up to the bar until the chest is a few centimetres away, then lower. That is one repetition. Do 15 of them, for a total of 3 sets.
Intermediate programme, two sessions per week
Exercise 1. From the bottom starting position, perform one pull-up, then release the bar and land on the floor. In the first week, do 5 repetitions of that type. Then move to 4 sets of 2 repetitions without dropping to the floor between the repetitions of a set.
Exercise 2. Loop a resistance band over the bar so that it hangs down. Place both feet in the band and perform pull-ups. Aim for 2 sets of 8 repetitions.
Exercise 3. Hang from the bar with the shoulder blades slightly engaged. Then, without bending the elbows, pull the shoulder blades together and hold for 1 second. Do 2 sets of 10 to 15 repetitions.
Challenges for advanced athletes
Weighted pull-ups. Instead of adding repetitions, wear a weight belt or a weighted vest. To progress on load, work 3 sets of 10 repetitions.
Mixed-grip pull-ups. Take the bar with one hand overhand and the other underhand. From there, pull up while keeping your balance. Do not let the hips drift from side to side.
Plyometric pull-ups. Perform an explosive pull-up and, when the chin reaches bar level, release the bar for an instant and catch it again. Not challenging enough? Try switching from an overhand to an underhand grip during the same movement.
Rope pull-ups. Pull-ups always build the forearms and the grip, but this version targets them hard. Hang a thick rope over the bar and pull up while holding it with both hands.
L-sit pull-ups. From the bottom position on the bar, bring the legs together at the knees and flex the hips so that the body forms the letter L. Keeping the legs perpendicular to the torso, perform the repetitions.
Archer pull-ups. As you pull up, draw the chest towards one arm while straightening the other. Return to the start position and repeat on the other side.
Specifying the bar behind the programme
A pull-up pathway is only as good as the structure it hangs from. Three questions decide the specification.
Indoor or outdoor? Indoor bars and rigs used in a supervised commercial setting are built to EN ISO 20957-1 class S, the class for professional installations. Outdoor adult equipment installed in a public park, a residential scheme or a campsite falls under EN 16630, which covers permanently installed outdoor fitness equipment and its safety areas. The two families are not interchangeable, and an outdoor site also needs a ground surface, foundations and a maintenance routine planned from the start.
How many bars, at what heights? A single height serves one population. A structure with two or three bar heights lets a coach run assisted work, standard sets and kipping work simultaneously, which is what makes group sessions viable. This is the main reason operators move from a lone bar to a full street workout rig once attendance grows.
Who else will use it? Calisthenics clubs, cross-training groups and open-access users have very different needs in terms of grip diameter, bar spacing and free space around the structure. Multi-bar calisthenics and street workout cages answer that by combining pull-up bars, parallel bars, monkey bars and wall bars in one footprint. A complete configuration such as the SW15 street workout set shows what a full open-access installation looks like once every user profile is accounted for.
Frequently asked questions
How much space does a pull-up station need?
Free space depends on the structure and, outdoors, on the safety area required by the applicable standard for that installation. The supplier drawing for your chosen model gives the exact footprint and clearance; we issue it with every quotation rather than working from a generic figure.
Can beginners and advanced users share the same bar?
Yes, provided the structure offers more than one bar height and enough room for a band or a box. That is the practical difference between a single bar and a rig: the rig lets a coach run the beginner programme and the advanced challenges in the same session.
Are pull-up bars suitable for unsupervised public access?
Outdoor installations in public areas are designed for unsupervised use, which is precisely why they are governed by their own standard and by a documented inspection routine. Indoor professional rigs assume supervision and a controlled environment.
Do resistance bands damage the structure?
Bands loaded over a bar apply a downward pull the structure is already designed to take. What matters more is the bar finish and diameter, since band friction and chalk wear the coating faster than bodyweight alone.
Building the pull-up offer in your facility
Pull-ups cost nothing to programme and return a lot: stronger backs, healthier shoulders, better posture in every other lift, and a visible progression ladder that keeps members coming back. The only real decision is the structure they hang from, and that decision is easier once you know how many users, which profiles and which environment you are equipping. Tell us the site and the audience and we will size the configuration around them: request a quote and our team will come back with a drawing, a specification and a price.
Réalisations documentées
- Cage street workout ultime, Carcassonne – armée française
- Cage street workout ultime, Tahiti – armée française, Polynésie
- Cage SP Max, centre EPIDE de Combrée – établissement public d’insertion
- Cage SP Max, lycée Saint-Bénigne de Dijon – établissement scolaire