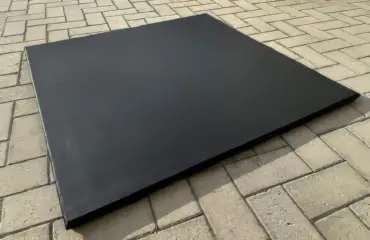
Rubber Flooring for Kennels, Veterinary Clinics and Stables
Un sol caoutchouc en milieu animal se choisit par zone, pas par bâtiment : dalle pleine et épaisse là où l'animal se couche, dalle perforée là où l'eau doit partir, surface texturée partout où l'on circule. L'épaisseur se détermine par l'usage de la zone, l'adhérence par le classement DIN 51130, et la pose doit empêcher les liquides de stagner sous le revêtement.
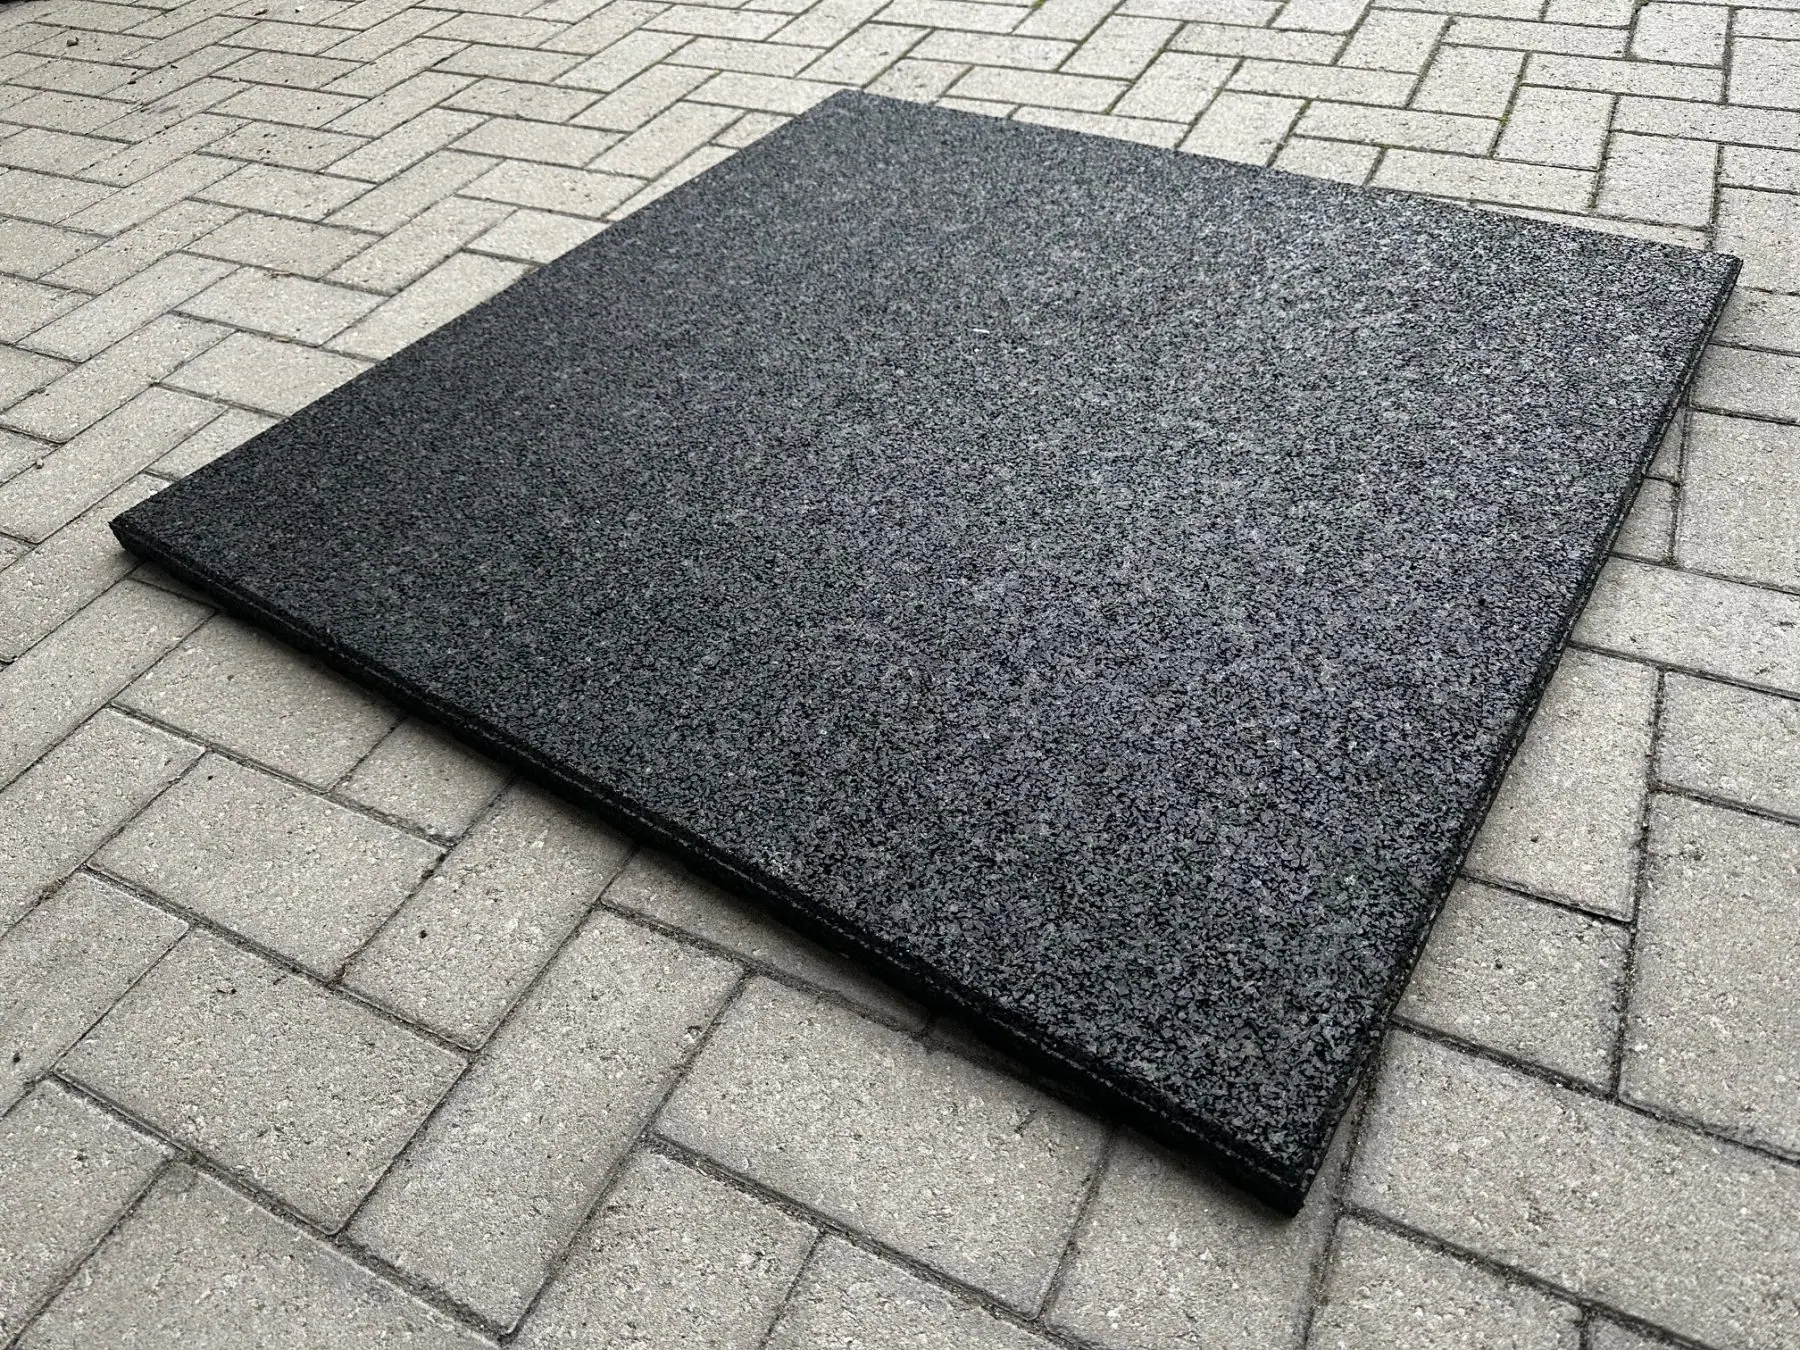
Whether you run a boarding kennel, manage a veterinary clinic or operate a stable yard, the comfort and safety of the animals is the first requirement. In these demanding environments rubber flooring has become the reference technical and hygienic surface. Its durability, its slip resistance and its cushioning make it a genuine asset in protecting the animals in your care while keeping day-to-day cleaning manageable.
This guide covers how to lay it, how to clean it and how to specify it, so that the surface delivers both animal safety and a service life that matches the investment.
Laying rubber tiles in a kennel
Installing rubber tiles in a kennel calls for a methodical approach if the floor is to be stable, durable and easy to clean.
Installation steps
- Preparing the substrate. Clean the existing floor, whether concrete, tile or screed. Check that it is level. Apply a bonding primer where the substrate is porous.
- Laying the tiles. Choose interlocking puzzle tiles or straight-edged tiles according to the constraints of the room. Start from a corner. Cut the tiles to size with a jigsaw or a professional knife.
- Fixing, where required. In heavily used areas, use a two-component polyurethane adhesive, for example one conforming to EN 14259. In an intensively used kennel, fixing is recommended to prevent tiles being lifted by claws or by the animals at play.
Recommended thicknesses for a kennel
| Kennel use | Recommended thickness | Main benefits |
|---|---|---|
| Small animals | 10 to 15 mm | Comfort, easy cleaning |
| Medium and large dogs | 20 to 25 mm | Greater shock absorption |
| Outdoor kennel | 25 to 40 mm | Thermal and acoustic insulation |
Technical reference: the tiles should meet the slip resistance requirements of DIN 51130, with class R10 or above for wet areas.
Cleaning a rubber floor in a veterinary clinic
Cleanliness is critical in a veterinary environment, for hygiene as much as for the health of animals and staff.
Recommended cleaning procedure
- Daily sweeping to remove hair, dirt and organic residue.
- Damp cleaning with a pH-neutral detergent suitable for rubber. Products compliant with the European REACH regulation are the safe default.
- Avoid aggressive solvents such as acetone or white spirit, which degrade the polyurethane surface finish.
- Dry quickly with a wet vacuum or a squeegee, so that moisture does not stand on the surface.
Why rubber suits a clinic
- A dense, closed surface with no open pores, which limits the retention of organic soil and makes disinfection effective. The material is not antibacterial in itself: the hygiene result comes from the cleaning protocol.
- Good resistance to the disinfectants used in veterinary practice, subject to the manufacturer’s compatibility list.
- A documented reaction to fire classification. Some products are classified Bfl-s1 under EN 13501-1, which matters in rooms subject to fire safety requirements.
- Noise reduction, which measurably lowers stress in animals held in a clinical environment.
Protecting horses’ joints with a rubber floor
Horses place heavy loads on their joints, particularly in stables where standing and stamping are constant.
What rubber flooring does in a stable
- Shock absorption, which reduces impact on tendons, joints and hooves.
- Fewer injuries, because slipping is limited, especially during sudden movements.
- Thermal insulation, because the rubber prevents direct contact with a cold, damp floor.
Standards and certifications
- Slip resistance to DIN 51130, class R10 as a minimum.
- Substance content compliant with the European REACH regulation.
- Reaction to fire classified under EN 13501-1 where the building requires it.
One point deserves clarity, because it is often stated incorrectly: EN 1177 is the standard for impact attenuating playground surfacing and defines a critical fall height for children’s play areas. It does not apply to stable or kennel flooring. For animal housing, the useful criteria are thickness, density, slip resistance and cleanability, together with the manufacturer’s own load test data. Our equestrian stable matting is designed specifically for that duty.
Stopping dogs slipping on a rubber floor
Rubber is naturally slip resistant, but several parameters affect grip in practice.
- Choose a textured or profiled surface rather than a smooth one.
- Specify tiles rated R10 or above under DIN 51130.
- Provide a minimum fall of 1 to 2 per cent so that water drains and puddles do not form.
- Clean regularly, so that a greasy film never builds up on the surface.
Recommended products
- Studded or fine-grain profiled tiles.
- Recommended thickness: 15 to 20 mm for indoor kennels, 25 mm and above for outdoor areas.
Regulatory note: premises open to the public, which includes veterinary clinics and some boarding kennels, are subject to the national building safety and accessibility rules of the country of installation. Those requirements apply to the floor finish as much as to the layout, and they should be confirmed with the local authority before the specification is fixed.
Installing rubber tiles in a stable
Installation in a stable differs from a kennel because of the loads involved.
- Provide a smooth, sound concrete screed or a compacted stabilised base.
- Use heavy tiles, 20 to 40 mm thick, or thick rubber rolls.
- Seal the joints with polyurethane adhesive so that horses cannot lift the edges.
- Leave an expansion joint of a few millimetres around the perimeter.
- Check the level, so that no tile can rock under load.
Recommended thickness in a stable
| Area of the stable | Recommended thickness |
|---|---|
| Individual stalls | 25 to 40 mm |
| Circulation aisles | 20 to 30 mm |
| Wash bay | 30 to 40 mm |
For large continuous surfaces, rubber flooring rolls reduce the number of joints and therefore the number of places where dirt can collect.
Creating a low-stress area with cushioned tiles
Animal welfare depends on reducing acoustic and physical stress as much as on the surface itself.
- Acoustic absorption, which cuts the noise of footfall and of dropped objects.
- Surface compliance, for joint comfort during long periods of standing or lying.
- Muted colours, with green and grey tones generally preferred in animal housing.
- Cleanability, which is what actually prevents bacterial build-up.
Typical applications are rest areas in kennels, veterinary isolation boxes, and reception areas in shelters and clinics. The same tile families are used on rubber gym flooring, which is why the technical documentation is directly comparable.
Compliance checklist
- Slip resistance documented to DIN 51130.
- Reaction to fire classified under EN 13501-1 where the building requires it, with the smoke index stated in full.
- Substance content compliant with REACH.
- Manufacturer quality and environmental management certification, typically ISO 9001 and ISO 14001.
- Recyclable products, with some tiles produced from more than 80 per cent recycled granulate.
- National building safety and accessibility rules for premises open to the public.
Frequently asked questions
Do rubber tiles resist dogs’ claws?
Yes, particularly high-density models above 900 kg per cubic metre. Textured surfaces are preferable, because they disguise marking.
Do rubber floors smell?
The initial smell is temporary and fades as the room is ventilated. REACH-compliant tiles are supplied without substances of concern above the regulated thresholds.
Can the floor be laid in-house?
Yes for small areas. For stables and large surfaces, a professional installer is strongly advised, because the substrate preparation and the perimeter detailing determine how long the floor lasts.
Is rubber suitable for wet animals, after washing?
Yes. It offers excellent water resistance and retains good slip resistance when wet, provided a profiled surface and adequate drainage have been specified.
Specifying the right floor for your facility
Choosing the right rubber tile gives you a safe, hygienic floor and contributes directly to the physical and psychological welfare of the animals in your care. Kennel, veterinary clinic or stable, the specification comes down to the same variables: thickness, density, surface profile and installation method. Tell us the area, the species and the cleaning regime and our team will propose a floor build-up and a costed quotation: request a quote.
Réalisations documentées
- Dalles et sols sportifs : livraisons documentées – plusieurs chantiers
- Sol sportif extérieur, square Georges-Vallerey – Taverny (95)
Sources et références
- Arrêté du 19 avril 2011 – étiquetage des produits de construction ou de revêtement de mur ou de sol sur leurs émissions de polluants volatils (Légifrance)
- Ministère de la Transition écologique – étiquetage des produits de construction : classes d’émission A+ à C
- Décret n° 96-1136 du 18 décembre 1996 – prescriptions de sécurité relatives aux aires collectives de jeux (Légifrance)
- NF EN 1176-1 – Équipements et sols d’aires de jeux, partie 1 : exigences de sécurité et méthodes d’essai générales (AFNOR)