Outdoor sports trails: how to design a route people come back to
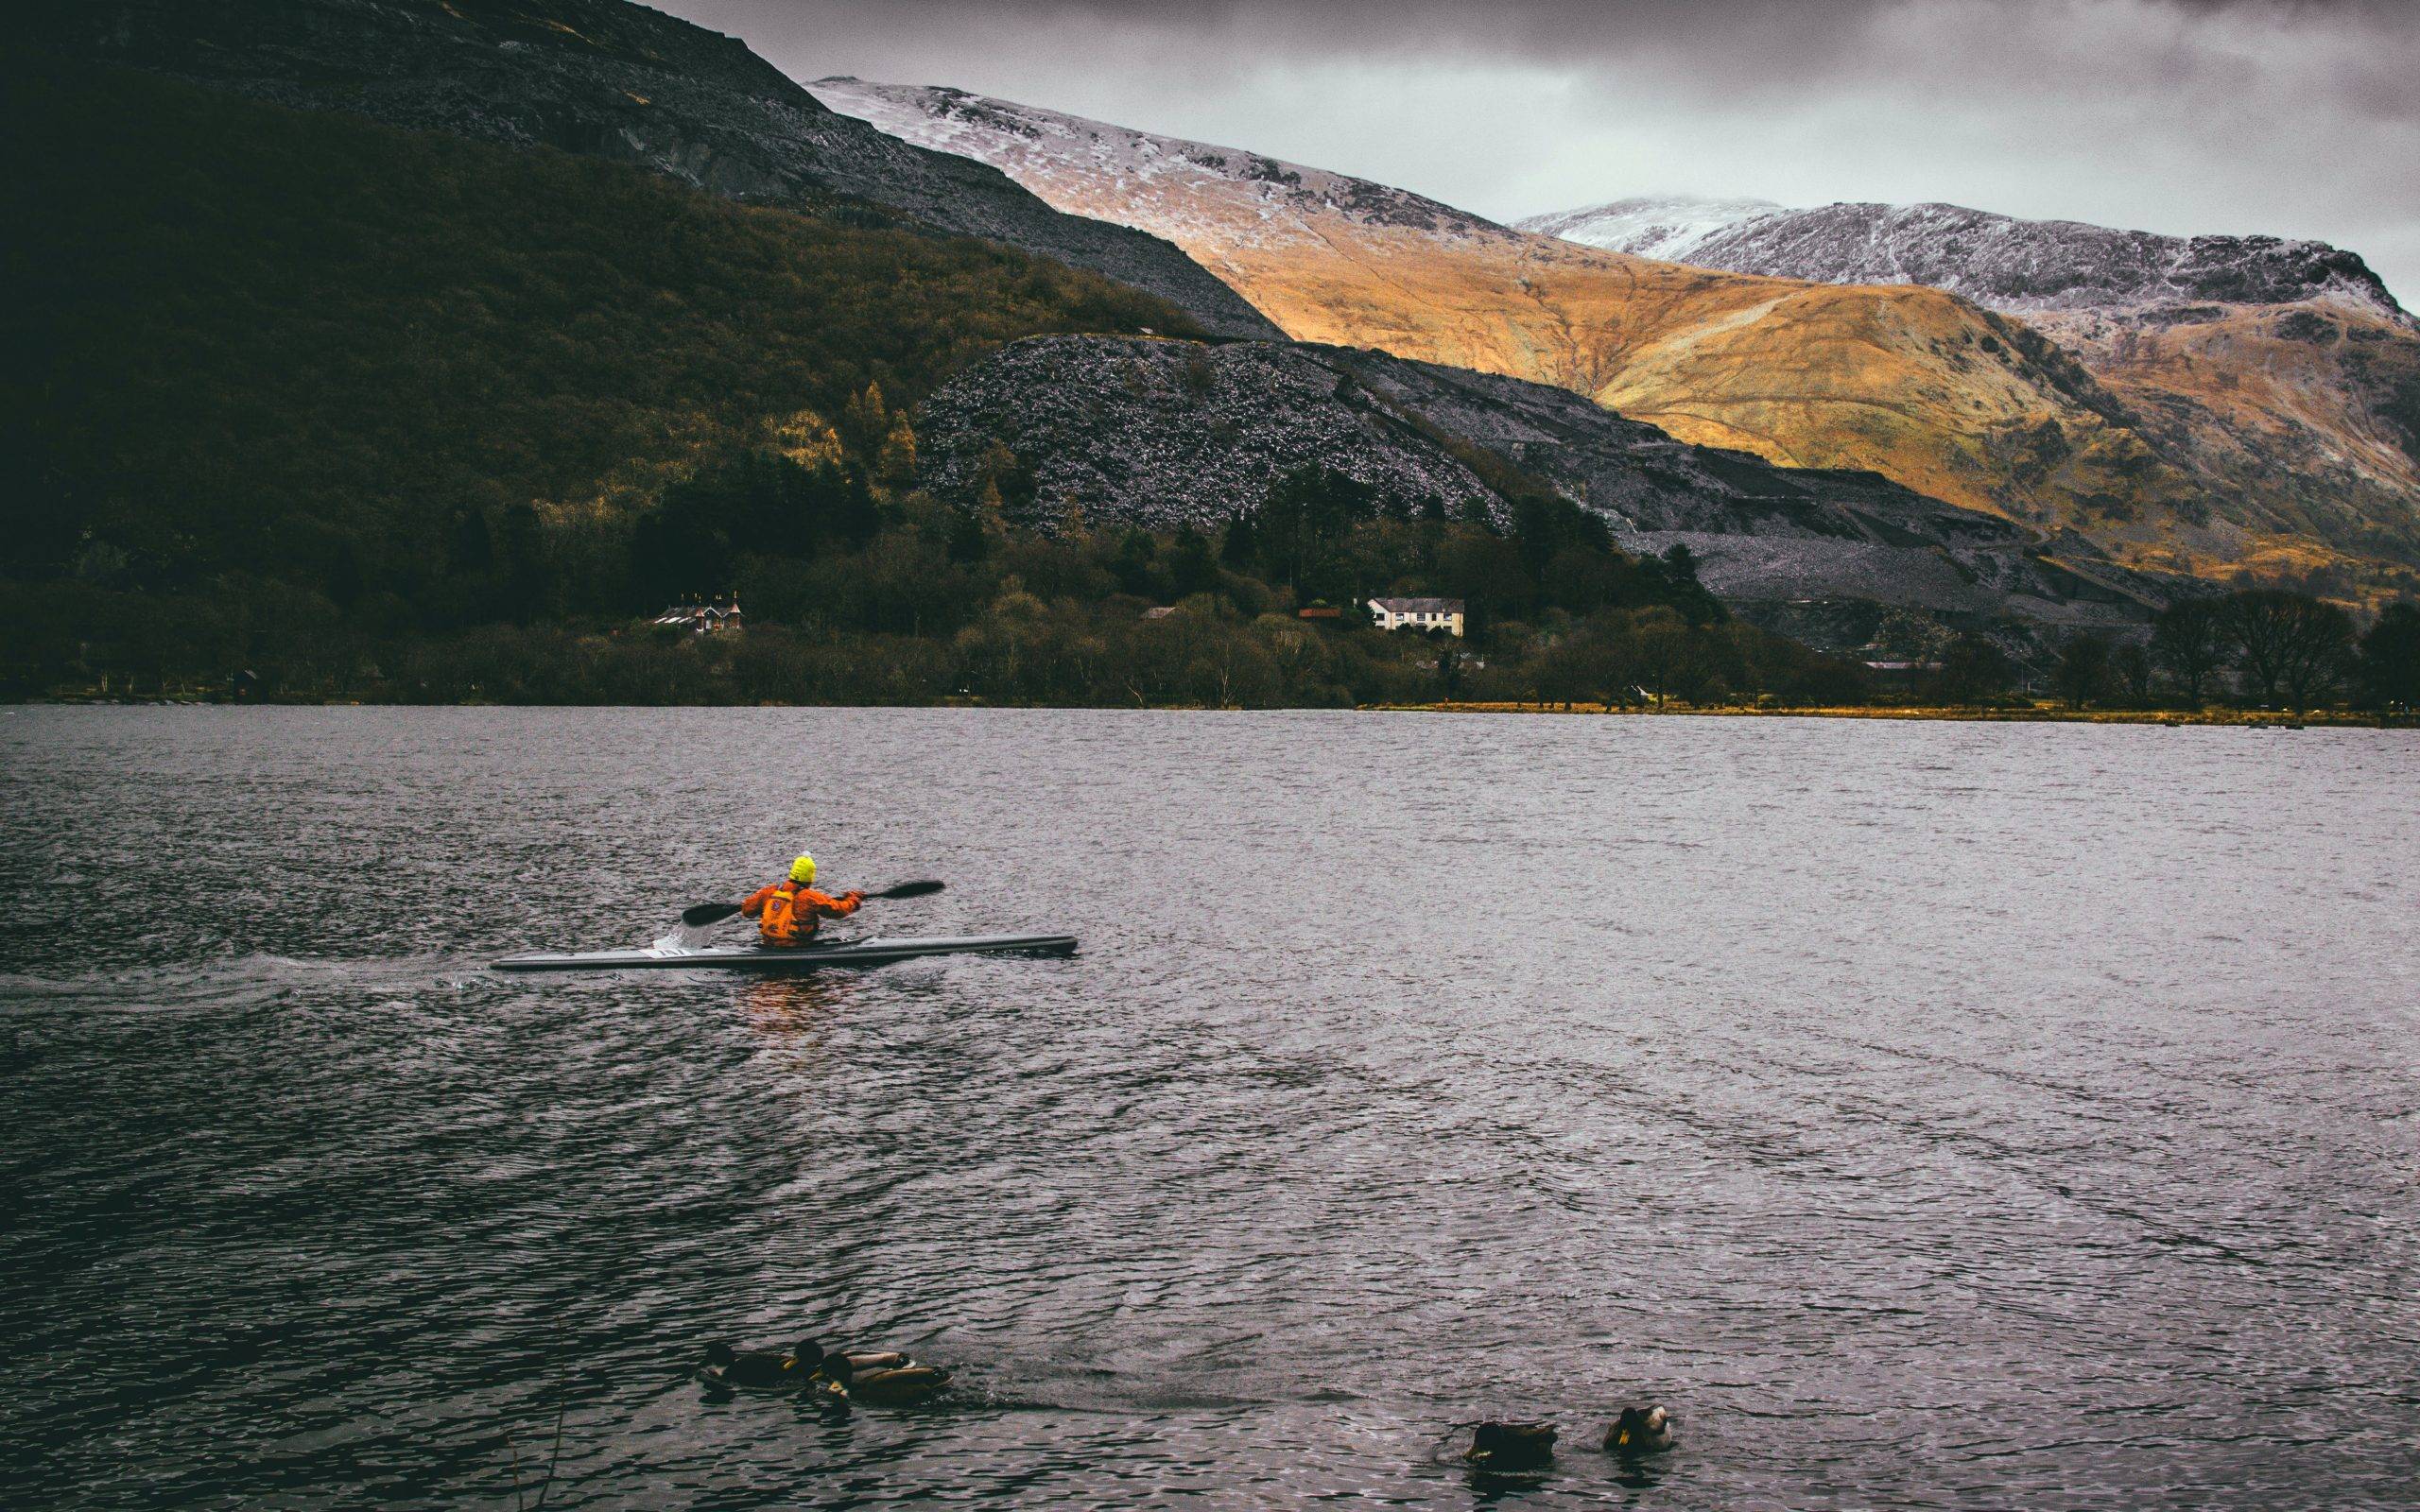
An outdoor sports trail is one of the few facilities that works for everyone who passes it: the guest who wants twenty minutes before breakfast, the club that needs a warm-up loop, the resident who will never set foot in a gym but will use a pull-up bar on the way home. It is also one of the easiest facilities to get wrong, because the equipment is the visible part and the route, the ground and the signage are the parts that decide whether anyone uses it twice.
This guide is written for the people who commission these installations: campsite and holiday village operators, hotels and resorts, local authorities, schools and universities, sports clubs, social housing landlords and rehabilitation centres. It covers how to plan the route, how to choose the station mix, which standards apply, and what it takes to keep the trail in service.
Start with the users, not the catalogue
The first question is not how many stations you can afford. It is who will be standing in front of them. A campsite trail used by families in flip-flops has almost nothing in common with a municipal fitness loop used by runners at seven in the morning, and neither resembles a rehabilitation circuit where the priority is transfer, handrails and predictable effort.
Write down the dominant user before anything else: age range, likely clothing, supervision level, and whether people arrive already warmed up or straight from a car park. Every subsequent decision, from station spacing to surfacing, follows from that single line.
Choosing the route before choosing the equipment
A sports trail is a route with equipment on it, not a row of equipment with a path added afterwards. The route does most of the work.
Look for a loop rather than an out-and-back wherever the site allows it: a loop gives a natural start, a natural finish and a sense of progression. Keep the stations visible from the path so that a first-time user understands what is coming next without reading anything. Place the first station close to the entrance, because a trail whose first apparatus is four hundred metres into a wood is a trail most visitors will never discover. Alternate effort and recovery along the route instead of grouping all the demanding stations together. And check sightlines: on a campsite or in a public park, equipment that cannot be seen from a circulation route tends to attract everything except training.
Slope, drainage and shade are the three site factors that quietly decide success. A station placed at the bottom of a slope will stand in water for half the year. A trail with no shade will be unused from midday to late afternoon for the whole of the season that matters most.
The station mix: strength, mobility, cardio and obstacles
A balanced trail covers four families, in proportions that depend on your users.
Bodyweight strength stations, pull-up and dip bars, wall bars, parallel bars and inclined benches, are the backbone. They are robust, they need no moving parts and they suit almost every level. Mobility and coordination stations, rotation wheels, balance beams and stretching frames, are what make a trail usable by older adults and by anyone who is not there to train hard. Outdoor cardio machines such as cross-trainers, riders and steppers add a recognisable gym vocabulary for users who want it. Obstacle modules, walls, monkey bars, hurdles and cargo nets, turn a fitness loop into something clubs, schools and teams will book.
Browse the outdoor fitness trail range for complete circuits, the individual fitness trail stations when you are extending an existing loop, and the obstacle trail modules when the brief includes an obstacle element. Sites that need free-standing strength apparatus rather than a full circuit will find it in the outdoor gym equipment category, and full competition-style layouts in OCR obstacle courses.
The standards that govern an outdoor installation
This is the part that separates a specification from a wish list, and the part inspectors will read first.
Permanently installed outdoor fitness equipment for adults falls under EN 16630. It covers the structure, the free space around each station, entrapment, protection against falls and the information that must be supplied with the installation.
Children’s play equipment is a different world and must not be specified under EN 16630. Playground equipment is covered by EN 1176-1, and the impact attenuating surfacing beneath it by EN 1177. The two are complementary and never interchangeable: EN 1176-1 tells you what the structure must be, EN 1177 tells you what the ground under it must absorb. If your project mixes an adult fitness loop with a children’s play area, treat them as two installations with two sets of documents, even when they share a fence.
Whatever the standard, keep the manufacturer documentation, the installation report and the inspection schedule together from day one. The cost of reconstructing that file three years later, usually after an incident, is out of all proportion to the cost of filing it correctly.
Ground and surfacing
Surfacing is where outdoor projects most often overspend in one place and underspend in another. Not every station needs an impact attenuating surface, and the requirement is driven by the free fall height of the apparatus, not by a general wish to be safe.
Grass works where fall heights are low and drainage is good, but it will not survive a high-traffic pull-up station. Loose fill such as wood chips is economical and performs well when the depth is maintained, which means someone has to maintain it. Bonded rubber and rubber tiles cost more up front and give a predictable, accessible, low-maintenance surface, which matters when wheelchair access is part of the brief. Whatever you choose, specify the drainage under it: a beautiful surface over a waterlogged sub-base fails within two seasons.
Materials: galvanised steel, stainless steel and timber
The material decision is a maintenance decision disguised as an aesthetic one.
Hot dip galvanised steel is the workhorse of outdoor fitness: strong, repairable, and well suited to inland sites. Stainless steel earns its premium in coastal and saline environments, in swimming pool surroundings and anywhere the maintenance budget is thin. Timber reads warmer and suits parks, campsites and heritage settings, and it asks for a genuine inspection routine in return. Match the material to the exposure of the site rather than to the mood board, and be consistent across the trail so that your maintenance team learns one routine rather than three.
Signage, sequencing and getting the trail used
An unused trail is a maintenance liability with no return. What turns installed equipment into used equipment is almost always information.
Give each station a panel that shows the movement, not a paragraph that describes it. Number the stations so the route reads as a sequence. Offer two or three suggested circuits of different lengths so a user can decide in five seconds rather than improvising. Add a start panel with the full loop, its distance and the recommended order. And plan the opening: a launch session, a club partnership or a staff-led circuit in the first fortnight does more for long-term use than any amount of additional equipment.
Connecting the trail to what already exists
Most sites already have running, walking or cycling routes near them, formal or informal. A sports trail that connects to them performs far better than one that ignores them.
Position the trail as the strength and mobility complement to a route people already run or ride: a warm-up cluster at the start of a running loop, a stretching and mobility group at the finish, an obstacle section where a path widens. For campsites and resorts, link the trail to the activities you already programme so that it appears on the timetable rather than only on the map. For a local authority, connect it to the existing walking network and to school access routes, because the users who justify the investment are the ones who pass it every day.
Maintenance and inspection
Budget for the trail after it opens, not only for the day it opens. Build a routine visual inspection into the existing site rounds, schedule a fuller operational inspection and an annual main inspection in line with the manufacturer instructions, and keep a written log of every check and every repair.
Watch the items that fail first: fixings, ground anchors, moving pivots, timber at ground contact, surfacing depth under loose fill, and the legibility of signage after a couple of winters. None of these is expensive to fix while it is small.
Frequently asked questions
How much space does an outdoor sports trail need?
It depends on the stations chosen: each apparatus has a declared footprint and a required free space around it, and those figures come from the manufacturer documentation for the specific model. Work from those drawings rather than from a rule of thumb, and never place two stations so that their free spaces overlap.
Can adults and children use the same equipment?
No. Adult outdoor fitness equipment is designed and tested under EN 16630 for adult users. Equipment intended for children is covered by EN 1176-1 with EN 1177 surfacing beneath it. Where both audiences are expected on one site, specify two distinct zones.
Is stainless steel worth the difference?
On a coastal site, next to a pool, or where maintenance resources are limited, usually yes. Inland, with a maintenance routine in place, hot dip galvanised steel is normally the better value.
How many stations should a first trail have?
Fewer than most projects assume. A short, well-signed, well-placed loop that people complete is worth more than a long circuit that people abandon. Design the layout so that stations can be added later on the same route.
Do we need a surfacing specification for every station?
Not necessarily. The requirement follows the free fall height of each apparatus as declared by the manufacturer, so the surfacing plan is station by station rather than uniform across the trail.
Design the route, then specify the equipment
The best outdoor sports trails are not the ones with the most stations. They are the ones placed where people already walk, sequenced so the route explains itself, built in a material that matches the site, and supported by an inspection routine that keeps them open.
Send us your site plan, your user profile and your constraints, and we will come back with a route proposal, a station list and a costed configuration. Request a quote and we will work from your drawings.