
Fitness Trails: Structures, Location and Benefits
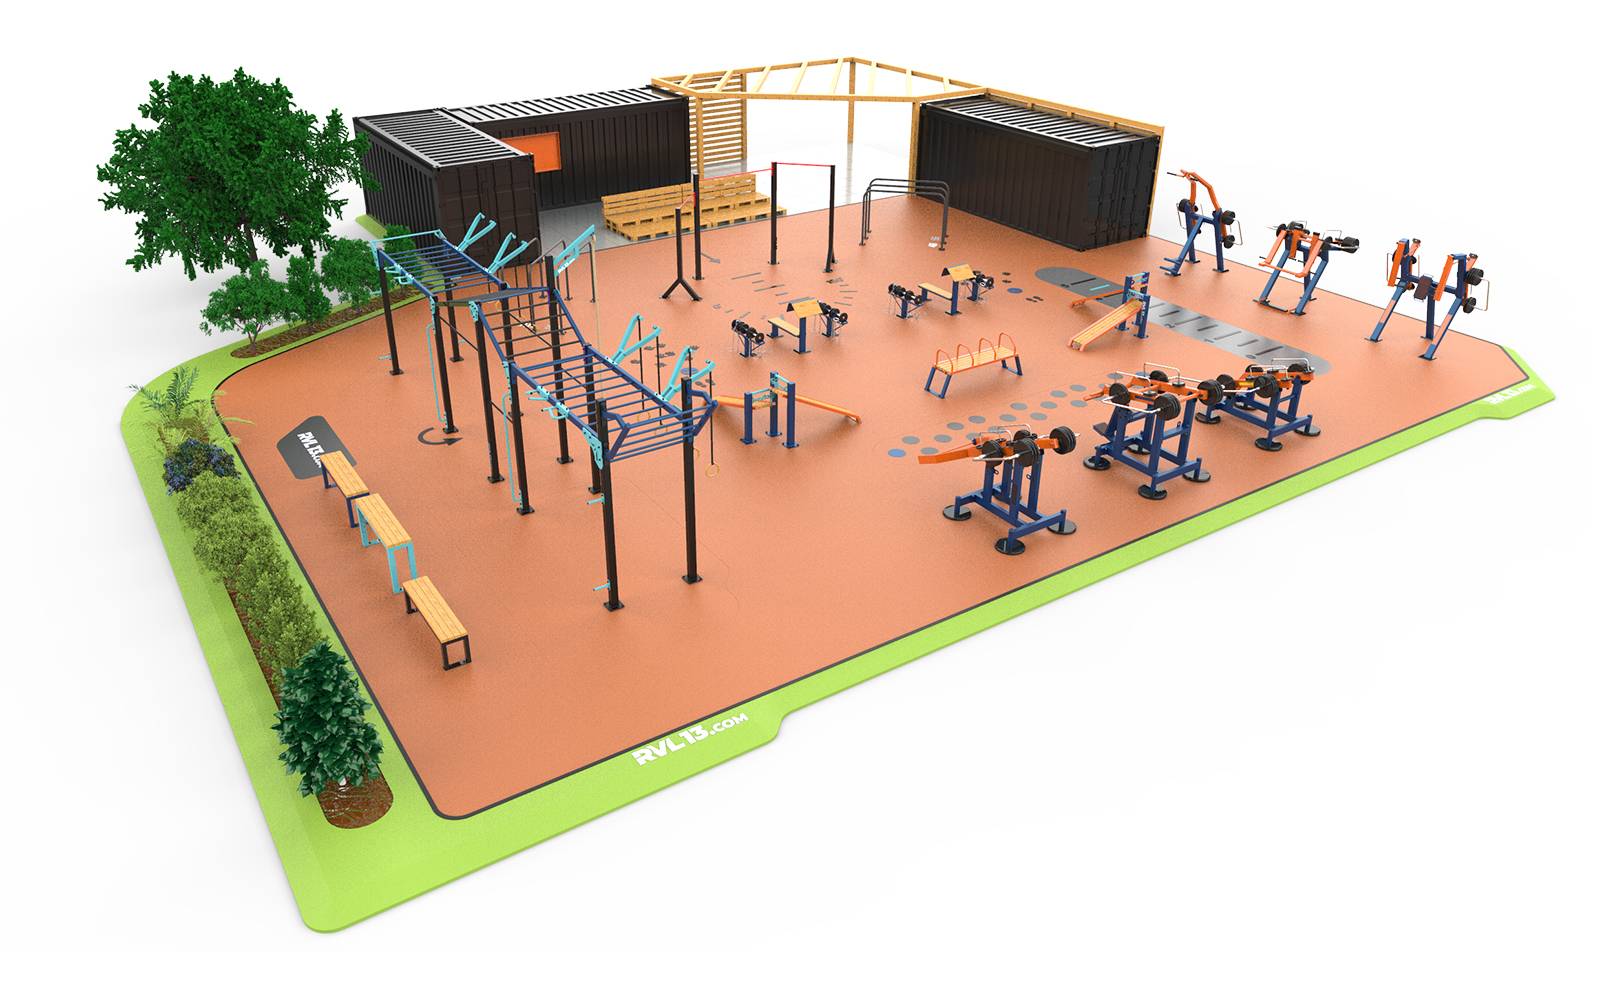
A fitness trail is one of the few pieces of sports infrastructure a town can install once and let the whole population use, free, at any hour, without staff on site. This guide is written for the people who actually deliver those projects: municipal sports and technical departments, housing providers, campsite and holiday village operators, schools and clubs. It covers what the equipment is, where to put it, what it does for the population, and the steps from idea to opening day.
What a fitness trail is
A fitness trail is a laid-out area for outdoor physical activity, designed to give the residents of a town or a neighbourhood an accessible and pleasant place to exercise. It is equipped with a series of stations that let users work different muscle groups and improve their general condition, each one usable without instruction.
These areas usually sit in parks, public gardens or along walking routes, which is what makes the experience feel like part of the landscape rather than a piece of equipment dropped on a lawn. A trail serves every age and every fitness level, from an energising walk with a few stations along the way to a full training session. Browse the complete outdoor fitness trail range.
Choosing the structures
The equipment decides whether an area is used after the first month. A modern trail typically combines parallel bars, multifunction benches, outdoor cardio machines and a stretching zone, and that combination is deliberate: parallel bars build upper body strength, cardio units provide cardiovascular work, and multifunction benches let users train several muscle groups with body weight alone.
Two technical points govern the specification. Adult outdoor fitness equipment falls under EN 16630, which covers the equipment, its installation and its inspection. Anything intended for children is a separate family designed to EN 1176-1, installed over impact-attenuating surfacing to EN 1177. The two are specified separately and are never substituted for one another.
Material choice follows the site. Wooden fitness trails suit parks and natural settings; galvanised or stainless steel ranges suit exposed and coastal sites and high-traffic urban locations. See the individual fitness trail stations to build a route station by station.
Location: the factor that decides usage
Location is the single strongest predictor of whether a trail gets used. It should sit close to residential areas and to the places people already go: schools, community centres, parks, walking and cycling routes. A central, easily reached site gets used regularly; the same equipment on the edge of town does not, whatever it cost.
Accessibility is part of the same question. Getting to the area matters as much as the equipment on it: a level approach, a surfaced path and adequate lighting turn a summer facility into a year-round one. Including accessible outdoor gym stations means wheelchair users train in the same space as everyone else rather than being sent elsewhere.
What the population gets out of it
The benefits go well beyond fitness. Regular exercise strengthens the cardiovascular system, which reduces the risk of heart disease and of the other health problems associated with a sedentary lifestyle, and it helps maintain a healthy body weight by burning calories and promoting fat loss.
The mental health case is just as strong and is often the one that carries a council vote. Regular exercise reduces stress and anxiety, stimulates the production of endorphins, improves sleep quality, raises self-esteem and supports better concentration. For a local authority, that is a public health argument backed by a modest capital cost and almost no running cost.
How it compares with other options
Fitness trails have real advantages over the alternatives. They are free at the point of use and open to everyone, with none of the subscription cost of a private gym or club. And they are outdoors: users get sun, fresh air and a natural setting instead of an enclosed room, which is exactly why a share of the population that will never join a gym will use a trail.
Seven steps to delivering a trail
Setting up a trail can look daunting, but it comes down to careful planning and a working relationship between the authority and the community.
1. Check the local rules. Find out what applies to development of public open space in your area and obtain the necessary permissions before anything is ordered. Requirements differ from one country and one authority to the next, so this step starts with your own planning department.
2. Identify the site. Find a central, easily reached location. Consider the size of the space, the distance to housing and the proximity of other public facilities.
3. Set the budget. Estimate the full cost: equipment, ground preparation and surfacing, installation, and ongoing inspection and maintenance. Then look at the funding routes open to you, which may include public funding programmes and partnerships with local businesses. What exists varies by country and region, so check with the relevant national or regional body rather than assuming.
4. Involve the community. Hold public meetings to present the project and gather ideas. Bringing residents into the decision produces a trail that matches what the community will actually use, and it builds the support the project needs later.
5. Buy the equipment. Once funding is secured, order equipment that is modern, durable and compliant with the applicable safety standards. This is where the EN 16630 and EN 1176-1 distinction has to be right on the order.
6. Install it. Use an experienced team to install the equipment correctly on the chosen site, with the anchoring, the surfacing and the safety distances the standard requires.
7. Promote it. Hold an opening day or a launch event. Use social media, posters and leaflets to tell residents the trail exists and what it offers. An unannounced facility takes years to find its users; an announced one fills in weeks.
Frequently asked questions
How much space does a fitness trail need?
It depends on the number of stations and the safety distances each one requires. A route can be built along an existing path or concentrated in one area; we work it out on the site plan.
What surfacing is needed?
The surface under and around the equipment is part of the installation and is specified with it. See outdoor sports flooring.
Who inspects the equipment once it is open?
EN 16630 covers the inspection regime, and the operator is responsible for it. Plan the inspection routine before the trail opens, not after.
Can a trail be built in phases?
Yes, and it often should be. Starting with a core of stations and extending later spreads the cost across budget years and lets usage guide the second phase.
Getting your project costed
Send us the site plan, the population you are equipping and the budget envelope, and we will come back with a layout, a station list and a price. Start with a request a quote.